Easify V4 is no longer supported and has been superseded by Easify V5.
Upgrading Easify from Version 3
Please note: These instructions relate to the On-Premises version of Easify (not the cloud version).
This guide shows you how to upgrade your Easify software from an existing Version 3 installation to version 4.
We have designed the upgrade process so that when you upgrade from Easify version 3 to Easify version 4, your existing Easify version 3 installation will be left completely untouched and operational. This is so that in the unlikely event that the upgrade process does not complete smoothly, you can still go back to using your existing version 3 Easify installation with no down time.
Preparing for the Upgrade
Before you can upgrade to Easify version 4, you will need to make sure that your version 3 Easify installation has been updated to the latest version.
To check this, launch Easify V3 and look in the bottom left corner of the main Easify Window.
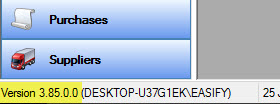
If the version (as highlighted in yellow in the above image) says 3.85.0.0 this means you have the latest version of Easify V3 installed and you do not need to upgrade your existing Easify version 3 installation.
we also recommend that you temporarily disable your anti-virus software during the upgrade process to prevent it interfering with Easify Setup.
The first stage in upgrading to version 4 is to upgrade your existing Easify version 3 database so that it becomes an Easify Server. This is quite straight forward, all you need to do is run the Easify version 4 installer on the computer that your Easify v3 database was installed on.
To upgrade your Easify version 3 database to Easify Server you will need to obtain a copy of the latest Easify version 4 Installer which you can download here.
The easiest place to save your Easify download to is your desktop...
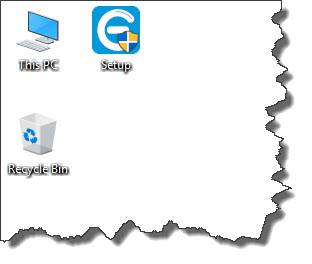
Just be sure that you have saved the installer to the computer on which your Easify version 3 database resides.
The second stage of the upgrade process which we will talk about at the end of this article, is to upgrade your Easify version 3 clients on other computers to Easify Pro V4.
Doing the Upgrade
Double click the Setup shortcut to start Easify Setup.
Depending on the operating system that you are installing on (in this help guide we are using Windows 10), you may be prompted by Windows User Account Control to confirm that you want to run Easify Setup.
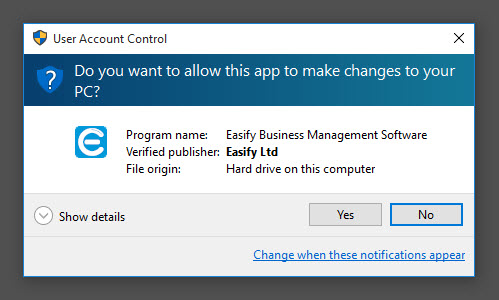
Click the Yes button to authorise Easify Setup to run.
After a short while, Easify Setup will display the following window...
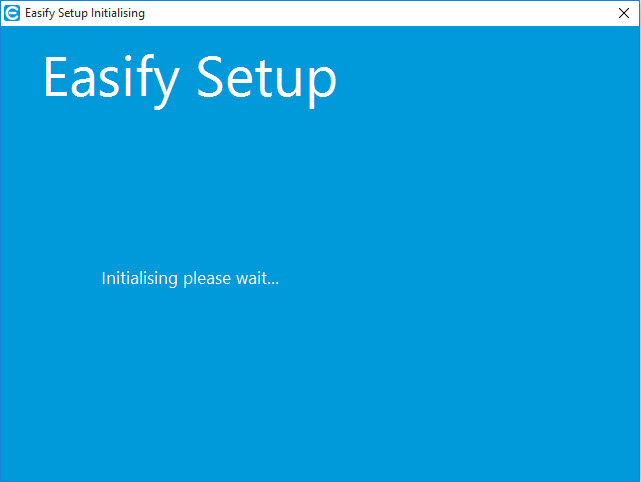
Easify Setup will then carry out some checks on your system to make sure that Easify can be successfully installed.
It is possible that Easify Setup will need to install the correct version of the Microsoft .Net Framework if it is not already installed. If the correct version of .Net Framework is not already installed, Easify Setup will install it for you.
Installing the .Net Framework may take some time, so be sure to wait until it has been installed.
When your system has been prepared for Easify Installation you will see the following window.
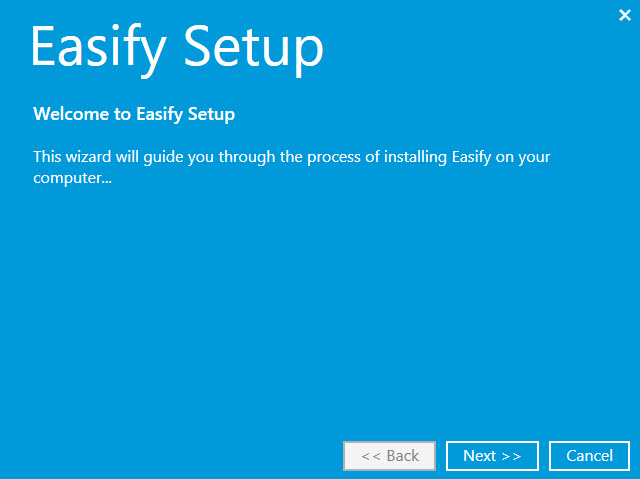
Click the Next button to continue the upgrade process...
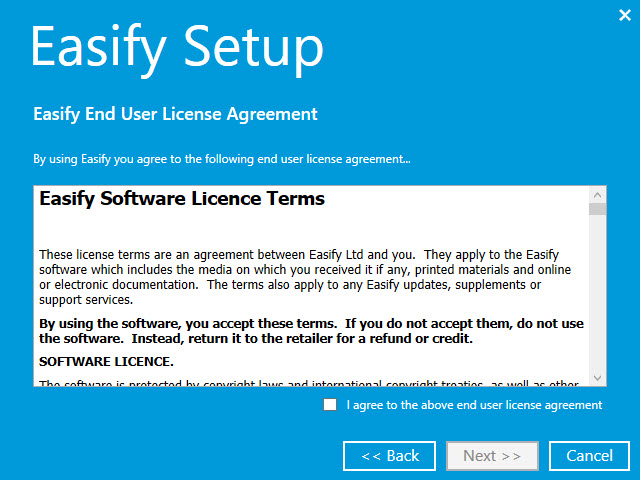
When you have read and agreed to the End User License Agreement, tick the checkbox and click the Next button to continue...
Easify Setup will then check your computer for any existing Easify installations.
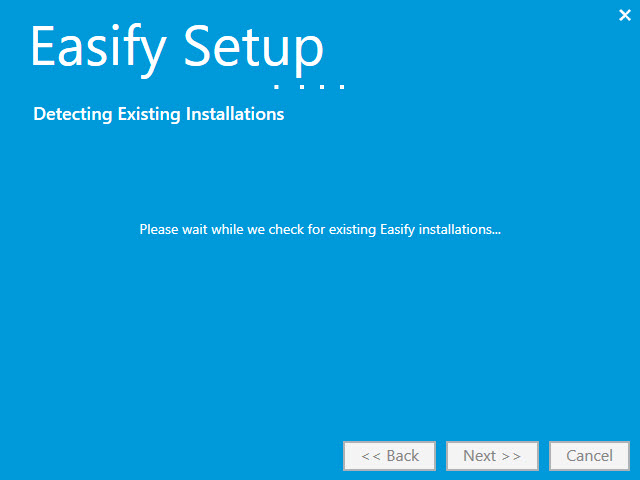
After a short while, Easify Setup will have detected any existing installations of Easify and you will be shown the next page of the Setup Wizard...
Because we want to upgrade our existing version 3 installation, select Upgrade.
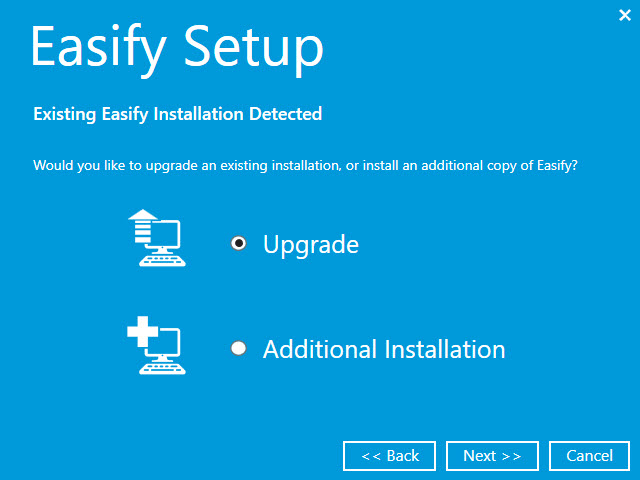
Click the Next button to continue.
Easify Setup will show you a list of the Easify applications that are present on your computer that can be upgraded.
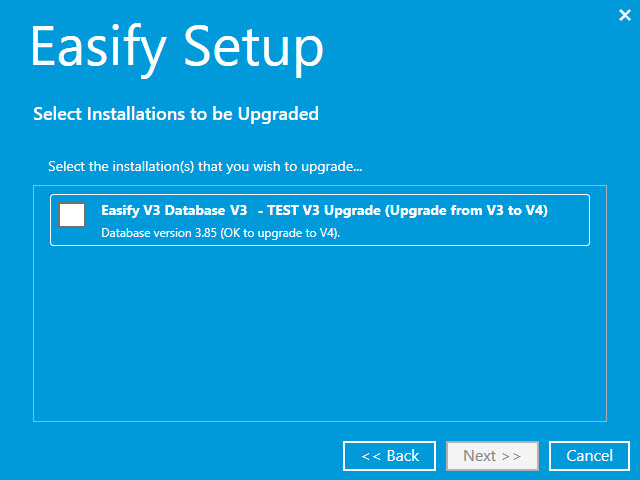
This is a typical view of a computer that has one Easify version 3 database installed on it. If you have an advanced setup such as the Easify Advanced Server Upgrade, you may have more than one Easify version 3 database shown here.
Tick the Easify version 3 database that you wish to upgrade.
If you have more than one Easify version 3 database you can only upgrade one at a time.
Click the Next button to continue.
As part of the upgrade process you will be required to provide a description for your company. This is new to version 4 and is used to help describe your company if you ever use Easify to manage multiple companies or branches.
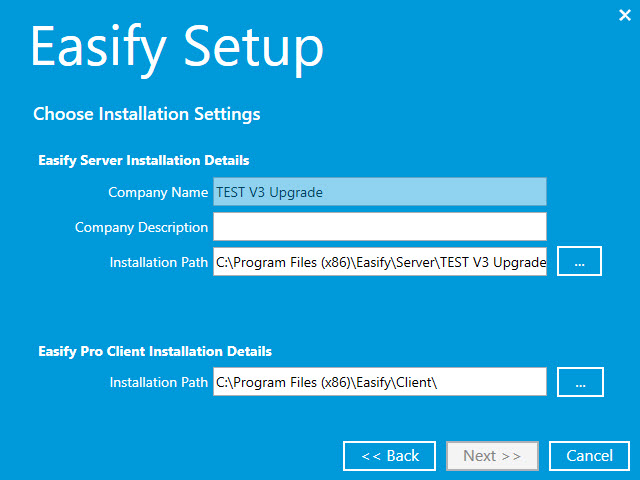
The Company Name cannot be changed and is not editable on this page of the wizard.
Enter a company description (this can just be something like "HQ" or perhaps the town where you are based) and click the Next button to begin the upgrade process.
We suggest that you leave the installation paths for the server and client at their default values, however if you are installing to a different drive letter you can change it here.
The Easify version 3 database that you previously selected will now be updated.
The process may take from one to several minutes depending on the speed of your computer.
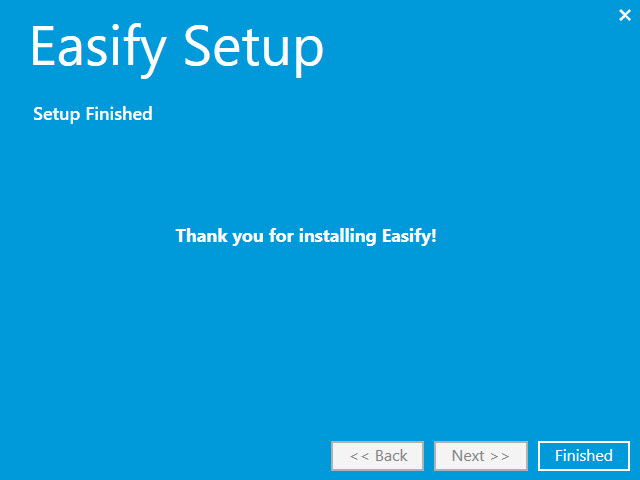
When the upgrade is complete you will see the final page of the wizard.
Upgrading Easify Version 3 Clients
You may have Easify version 3 clients running on the various computers on your network, and wish upgrade these to be Easify Pro V4 clients.
To do this you do not need to upgrade the existing version 3 client software, instead you simply install the Easify Pro V4 client on each PC that you want to run it on.
Click here to learn more about installing an Easify Pro V4 client.

