Easify V4 is no longer supported and has been superseded by Easify V5.
Installing an additional Easify Pro Client
Please note: These instructions relate to the On-Premises version of Easify (not the cloud version).
(If you are using the Cloud version, you can follow the instructions here.)
You would choose to do this if you already had Easify setup and running on another computer, and you wanted to install the Easify client on another computer on your network.
To install Easify you will need to obtain a copy of the Easify Installer which can be downloaded from our website. Choose the Easify Pro Client Installer (not the full installer).
We also recommend that you temporarily disable your anti-virus software during the installation process to prevent it interfering with the Easify Installer.
The easiest place to save your Easify download to is your desktop...
Double click the Client Setup shortcut to start the installation.
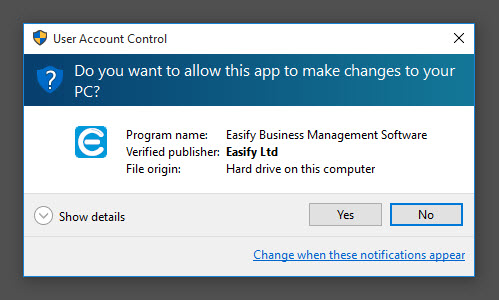
Depending on the operating system that you are installing on (we are using Windows 10), you may be prompted by Windows User Account Control to confirm that you want to run Easify Setup.
Click the Yes button to authorise Easify Setup to run.
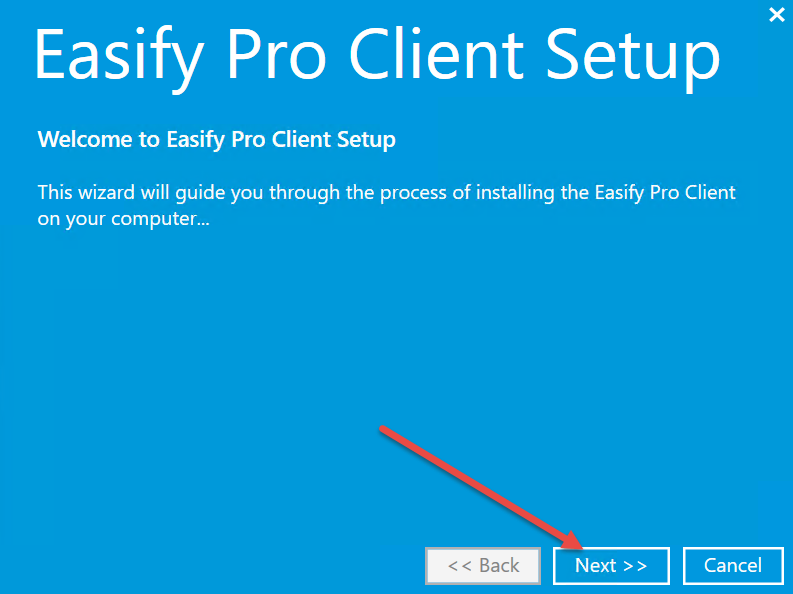
The Easify Pro Client Set up wizard will launch. Click Next to continue.
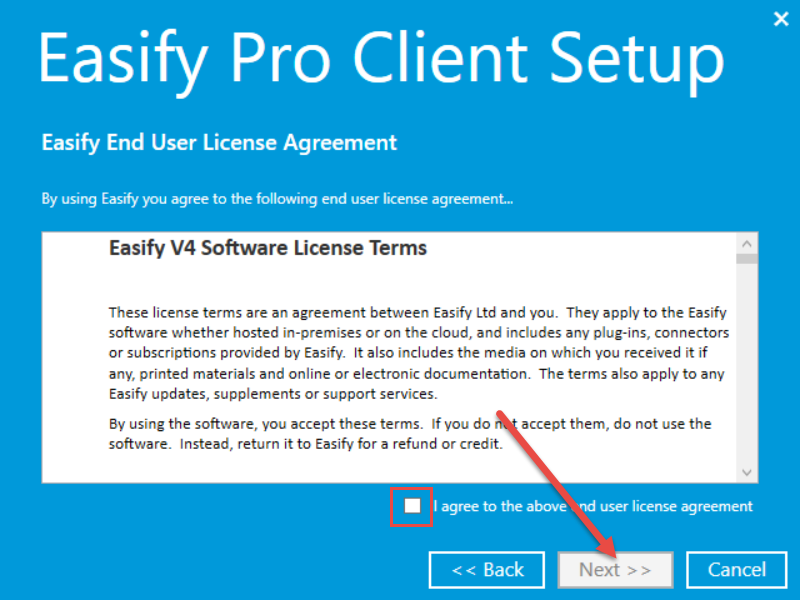
When you have read and agreed to the End User License Agreement, tick the checkbox and click the Next button to continue...
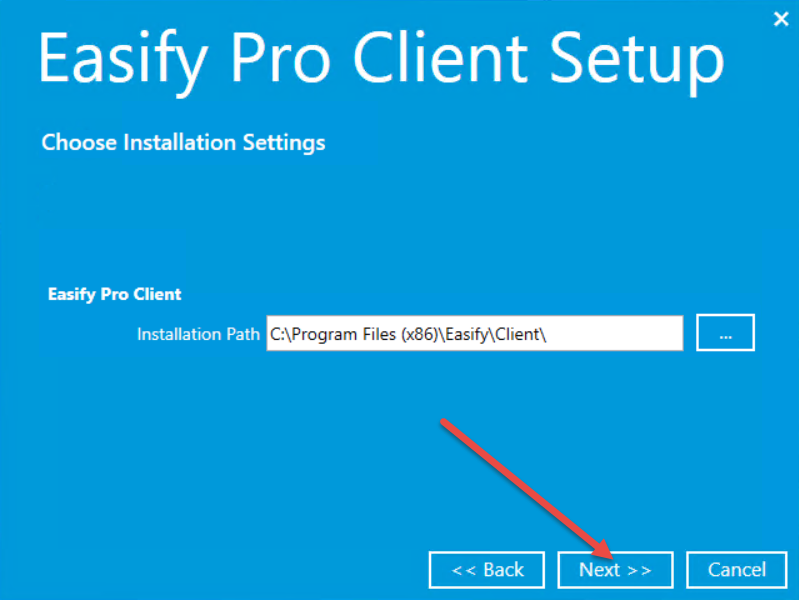
The wizard will ask you to choose where the Easify Pro Client software is installed. We recommend that you choose the default path that has been pre-filled, however you can change it if preferred.
Click Next.
The Easify Pro Client software will be installed on your PC or laptop. This usually only takes a few minutes. Once installed you will see the following...
Click on Finished to close the installation wizard.
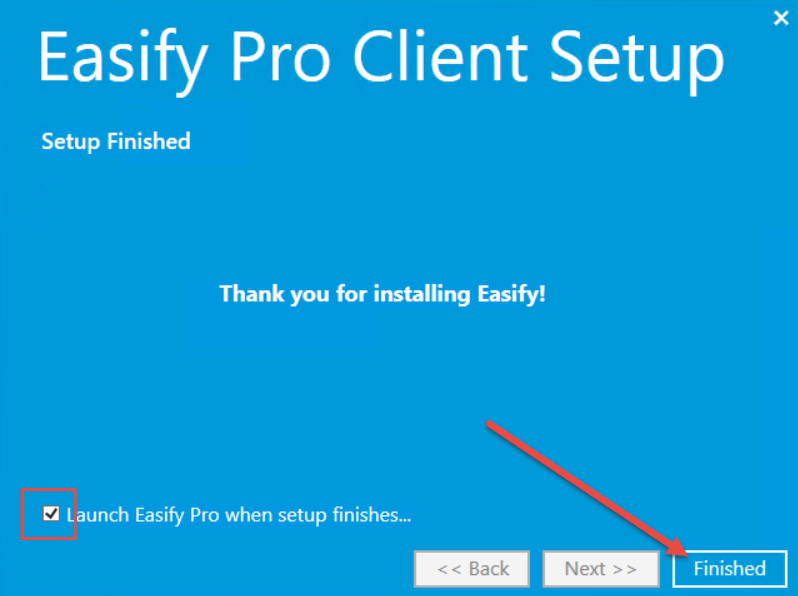
If the Launch Easify Pro when set up finishes is ticked Easify will automatically launch when you click on Finished.
You will now find the Easify Pro Client shortcut on your desktop.
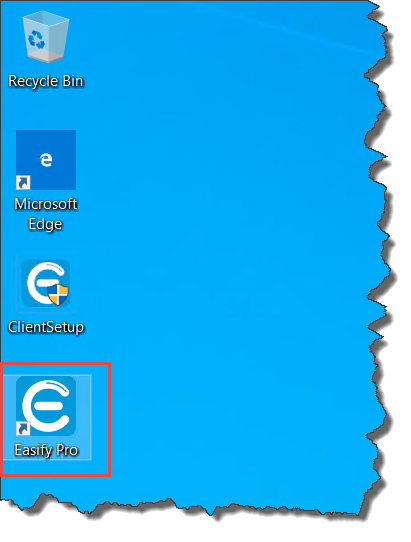
You can now launch Easify at anytime by double clicking on the Easify Pro icon on your desktop.
Launching Easify
When you first launch Easify it will look for any available Easify Server Connections on your network.
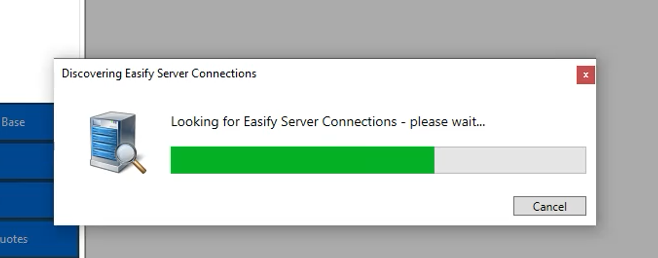
As long as the PC or laptop that you have installed Easify on, is on the same network as your Easify server, Easify should automatically detect your company on the network.
If it doesn't this is usually down to connection issues with your network rather than an issue with Easify itself. Click here on how to use Easify Connection Manager to connect to your server...
You should now be ready to log into Easify.
Click here for instructions as to how to login...
Click here for instructions as to how to get started using Easify.
Things to note
Until you enter a valid Easify license, every time you launch Easify it will ask you if you wish to install a license or continue with your evaluation:
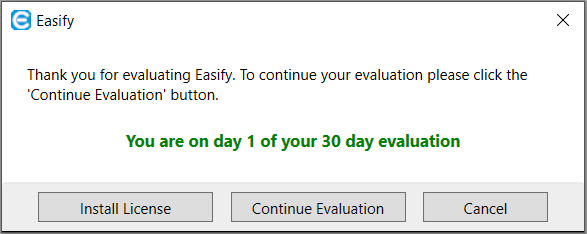
If you have purchased a client license for Easify and wish to enter the license details, click on Install License. This will launch the Install License window where you can enter your license details and click on Install.
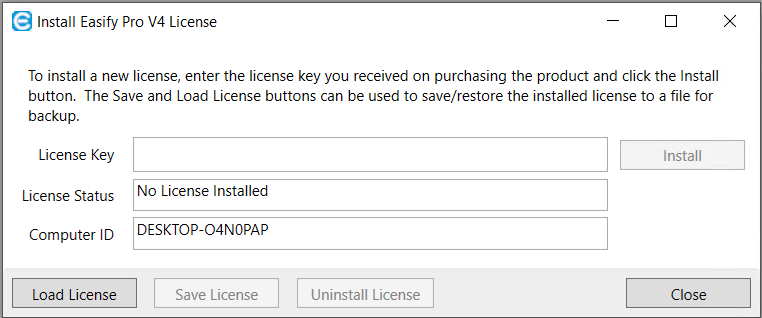
Alternatively click on Continue Evaluation to continue with your 30 day free trial of Easify.
Depending on the settings on your computer, if you get an error when installing your license code, close Easify and Right Click on the Easify icon and choose Run as administrator.
This will allow you to enter your license code into Easify. You should then just be able to launch Easify as normal after this.
