Easify V4 is no longer supported and has been superseded by Easify V5.
Paperwork Designer - Working with Pictures
Watch the video below or follow along with the example on this page.
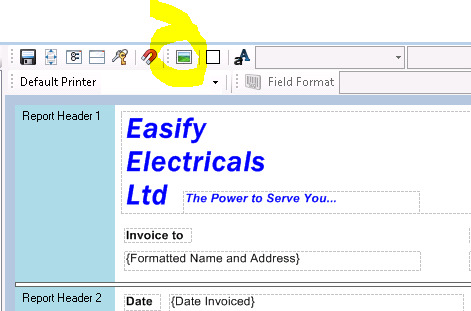
To insert a picture into your document, first select the section that you want to place the picture in. To select a section simply left click within it on its background in the Document Designer. In this example the section we need to select is Report Header 1.
Click here for more information about Working with Sections.
Then click the Insert Picture button.

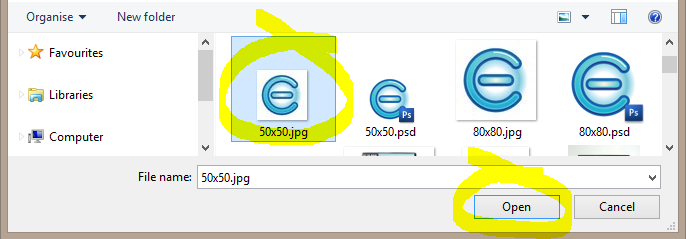
Browse for the picture that you want to insert, select it and click the [Open] button to insert it into your label.

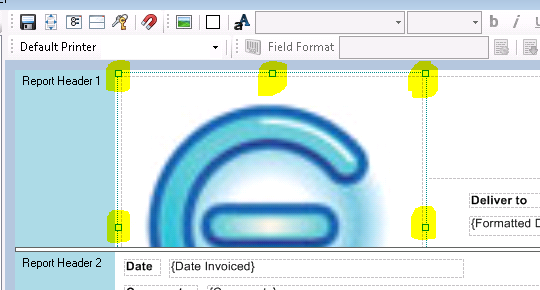
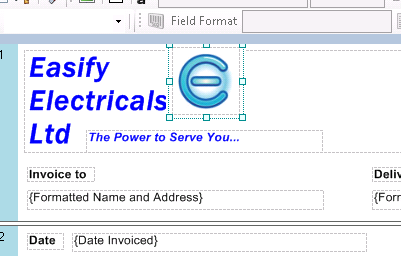
As you will see below the picture is far larger than we want. The picture can easily be resized by dragging it's sizing handles (highlighted in yellow below).

If you want to keep a picture in its original proportions (aspect ratio) when you resize it, hold the [Shift] key while dragging the picture to its new size.

If you find the picture is far too big to fit on the screen, you can temporarily change the paper size of the document to be a much larger size, and use the Document Zoomer to zoom out. This will allow you to see the entire picture on the screen in one go, you can then resize the picture down and restore the original page size afterwards.

