Creating an Assembly
Creating the Assembly
An assembly is simply a product that has had other products added to it. To create a new assembly create a product in Easify as you normally would, and then go to the Assembly tab of that product.
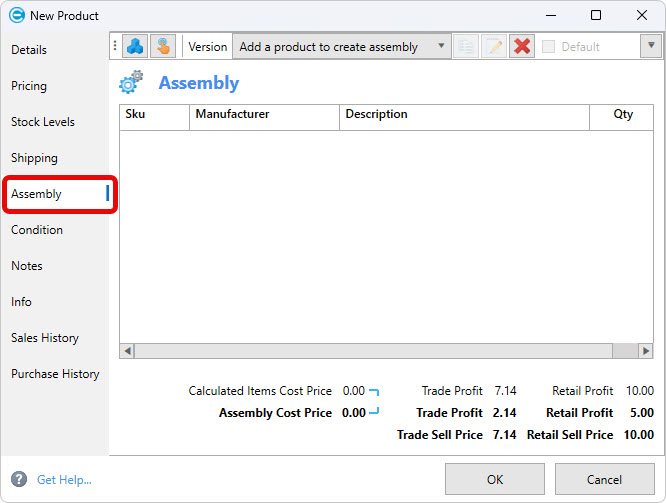
If you don't see the Assembly tab, make sure you have enabled Assemblies in Easify Options.
You can add Simple Products into the assembly, or you can add other assemblies.
You do this in exactly the same way that you would add a product or an assembly to an order.
Either click the Product Picker button and search for the product that you want to add to the new assembly.
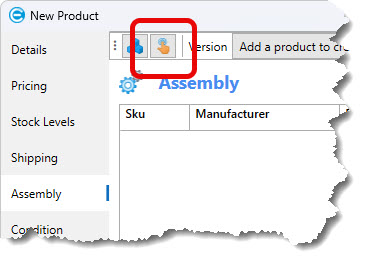
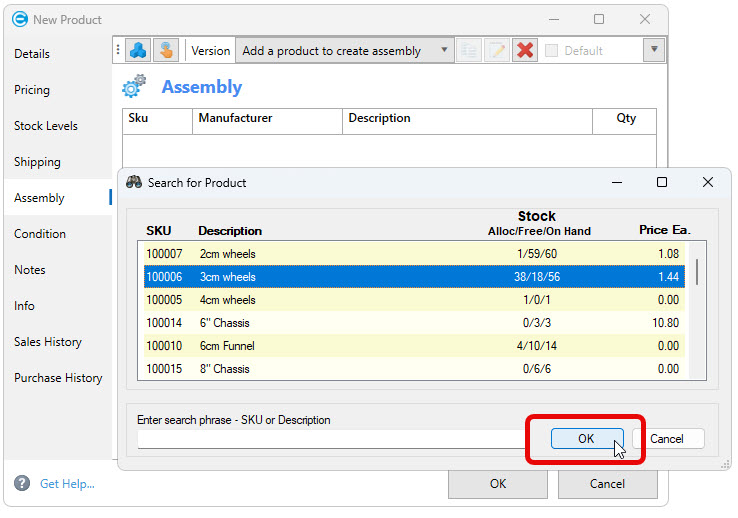
Alternatively click the Products Window button.
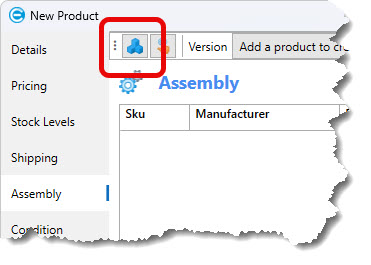
And you can drag and drop a simple product or an assembly into the new assembly.
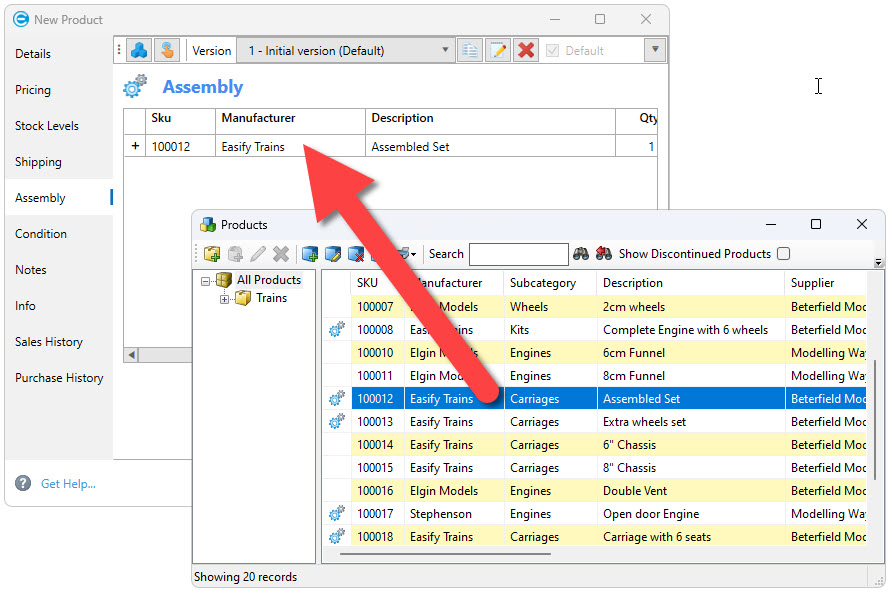
There is no limit as to how many products and assemblies you include in your assembly. And no limit to how deep they can go.
Assembly Versions
Once you have created an assembly and it has been used on an order, it will become read only. This is to preserve your sales history and provide a record of what has been sold and to whom.
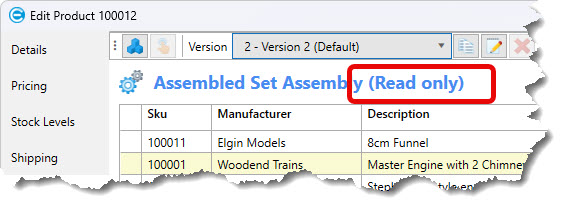
Naturally you may need to modify an assembly if you change a component of it due to a design change or a component needing to be replaced with a different item because it is no longer available. In this scenario what you need to do is to create a copy of the assembly as a new version and you can then make changes to the new version whilst leaving the original intact.
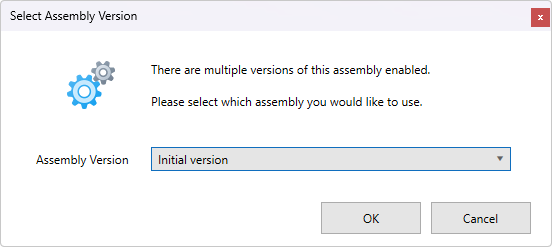
When you have multiple active versions of an assembly and you add the assembly to an order you will be asked which version you want to add to the order.
Assembly Toolbar
Versions Drop Down List
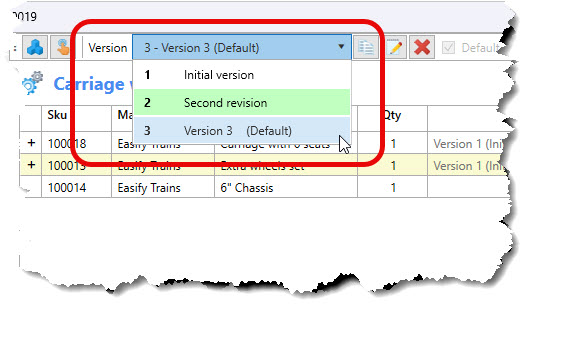
As previously mentioned, an assembly can have multiple versions.
Use the Versions drop down list to select the assembly version that you wish to view.
Copy Assembly Version
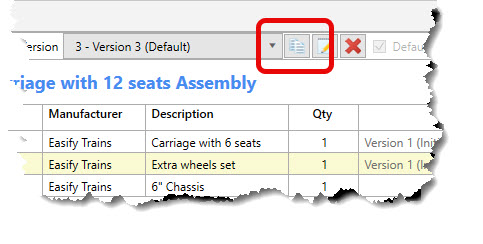
To create a copy of an assembly version, select the version that you wish to copy and click the Copy Selected Assembly Version button.
Rename Assembly Version
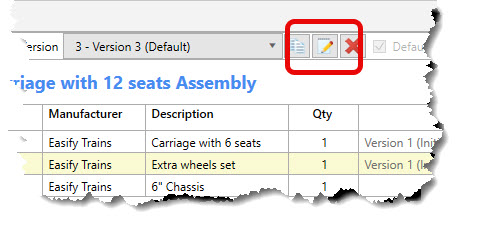
You can rename an assembly version by selecting it and clicking the Edit Selected Assembly Version button.
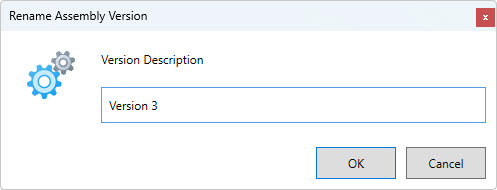
Enter the new description when prompted.
Delete Assembly Version
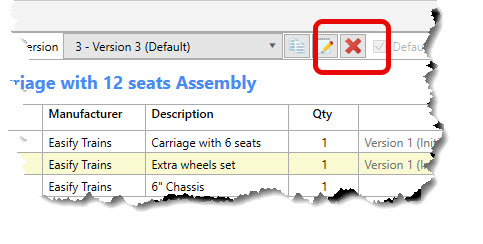
You can delete an assembly version (assuming it hasn't been assigned to any orders) by clicking the Delete Selected Assembly Version button.
Default Assembly
When there are multiple assembly versions that can be added to an order, the one that is selected in the Assembly Version Picker Window is the default version.
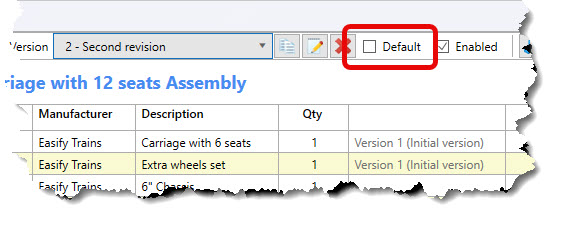
Enable Assembly
If you no longer want an assembly version to be visible in the list of assembly versions, perhaps because it is no longer being manufactured and will not be sold in future, you can select the Assembly Version and un-tick the Enabled checkbox.
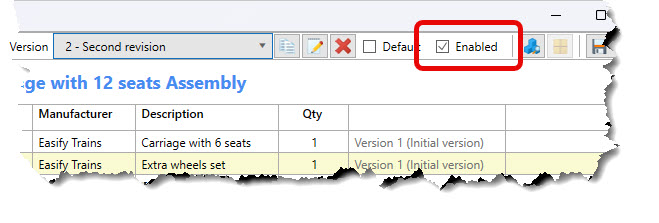
View Containing Assemblies
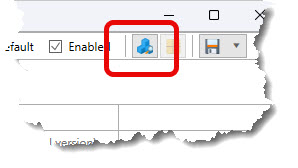
Sometimes it is useful to see which other assemblies contain the assembly that you are working on. You can see a list of containing assemblies by clicking the View assemblies containing this assembly version button.
The Related Products Window lists all other products that contain the selected assembly version. This Assembly Version is the assembly you are working on. Sub Assembly of SKU tells you which SKU the assembly is part of.
The Version column tells you which version(s) of the containing assembly contain the assembly you are working on.
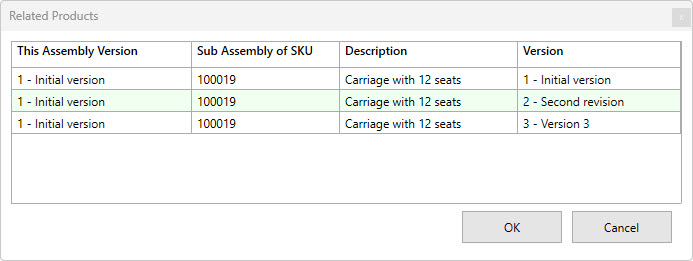
You can double click a row in the Related Products Window to open the Product Editor for that product.
View Containing Orders
If you want to see which orders contain the assembly version that you are working on, click the View orders containing this assembly version button.
The Orders Containing Assembly Window lists all of the orders that the selected assembly version is present in.
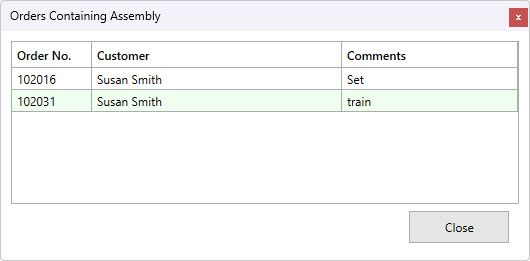
You can double click a row in the Orders Containing Assembly Window to open the order it relates to.
Export Assembly
The Export drop down button allows you to save the top level of the assembly to a variety of file formats such as PDF, CSV and Excel.

Editing Quantities
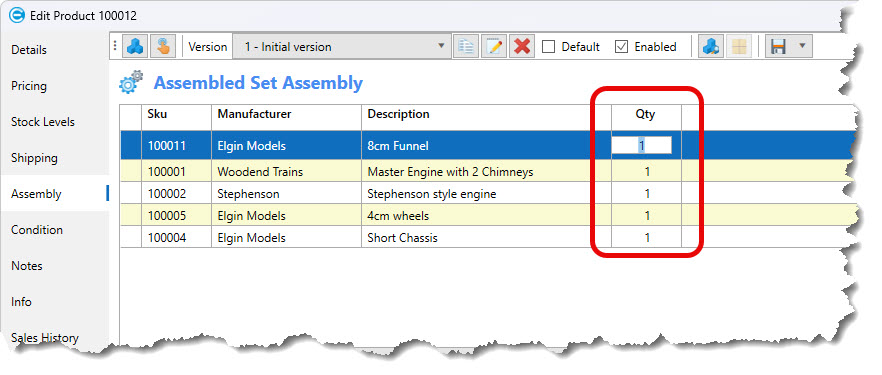
You can edit the quantity of any top level line item by over-typing the value in the Qty column.
Assembly Pricing
Overview
The Assembly tab of the Product Editor features a Pricing Panel that assists you as you create an assembly by giving you real-time updates as to various pricing related attributes of the assembly.
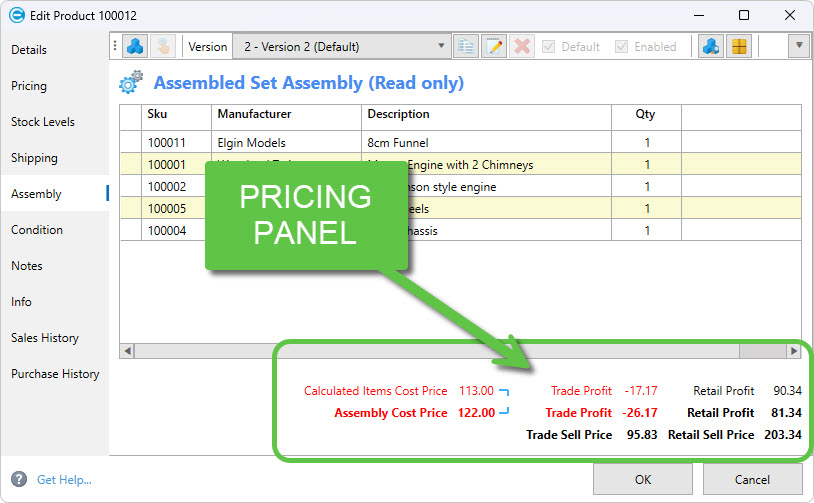
The Pricing Panel shows you the calculated cost price of the assembly, the trade and retail gross profit, as well as the sell prices based on the cost price and margin that is set on the Pricing tab.
The values shown in the Pricing Panel mirror the values that you would see on the Pricing tab and save you from having to switch between tabs to see what the price of the assembly would be.
Cost Prices
You will notice that there are two cost prices displayed in the Pricing Panel.
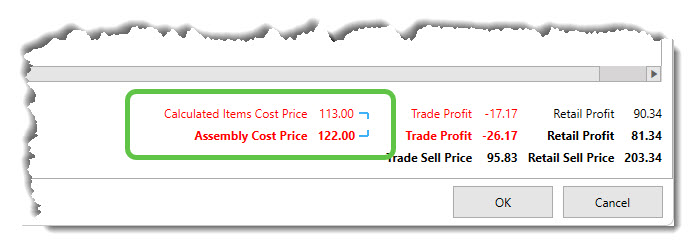
Calculated Items Cost Price shows you the running total of all the cost prices of the items that you have added to the assembly.
Assembly Cost Price is the cost price that is actually used by the product that represents the assembly you have created, in other words Assembly Cost Price is the value that appears on the Pricing tab.
Note also that the cost prices are displayed in red. This is because the calculated cost price of the assembly is different to the cost price that is displayed on the Pricing tab.
There is a small pair of blue corner icons to the right of the two cost price values.
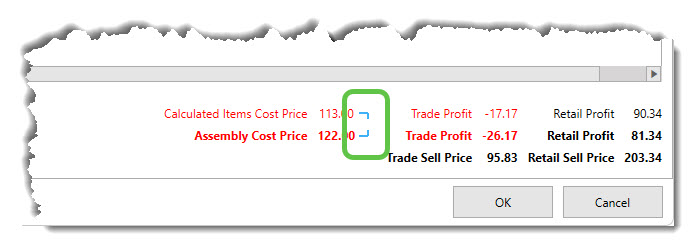
If you click on the blue corner icons, they will turn into a blue arrow and the assembly cost price will be synchronised or linked with the calculated cost price.
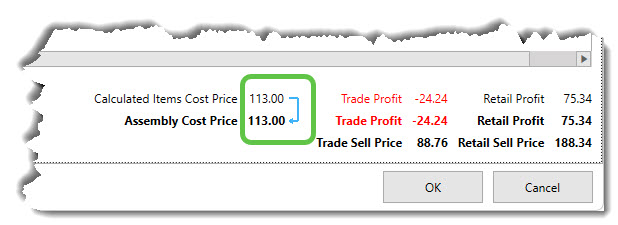
Note that when the cost prices are synchronised or linked they are no longer displayed in red.
Profit
The Pricing Panel displays the trade and retail gross profit for the assembly based on the margins that are set on the Pricing tab.
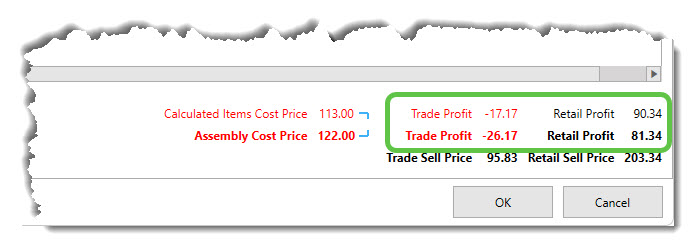
If the profit is negative i.e. you would be selling the item for less than the cost price, the profit will be displayed in red.
Sell Price
The Pricing Panel also displays the trade and retail sell price for the assembly.
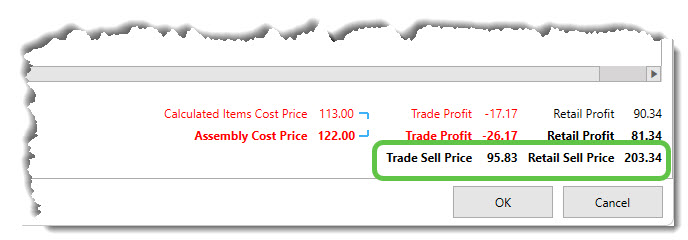
This value updated in real-time as you add and remove items from the assembly and helps you to determine the sell price for the assembly you are creating.

