Paperwork Designer - Working with Text
One of the main features of any item of paperwork will be text.
There are two forms of text that you can use in a document, Static Text i.e. text that doesn't change such as titles and headings; and Mergefields i.e. text that is pulled from the database when you load the document such as Order Number, Order Total, Product Price etc...
In this section we will be talking about Static Text, MergeFields will be covered in the later section on Working with Data.
From here on we will refer to Static Text simply as Text.
Editing Existing Text
One of the first things you will likely want to do with your paperwork is to edit the text of the documents to be your own words. Whether you simply want to add a line of text somewhere, to add your company address and contact information to a document, or to completely change the paperwork into a language of your choosing. Watch the video below or follow along with the example on this page.
For this example we will cover the topic of changing your company name at the top of an invoice.
To edit the company name at the top of an invoice, first open the document in the Document Designer. For information on how to open a document see the Paperwork Designer Overview.
The text that we want to edit currently says "Your Company Name Here". We want to change this to read "Easify Electricals Ltd".
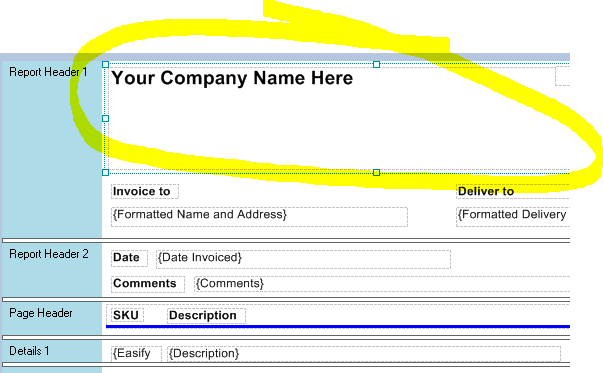
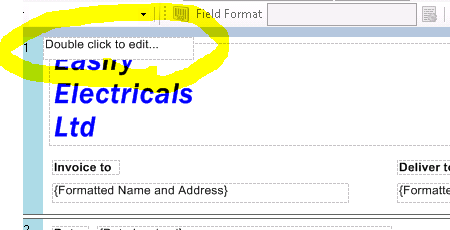
Double click the text to put it into edit mode.
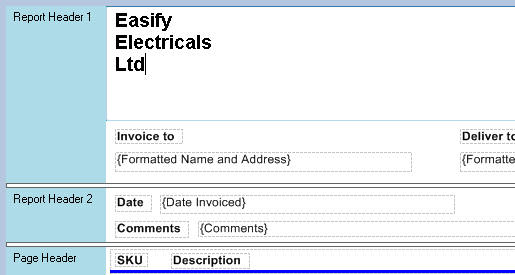
Edit the text to say what you want it to. In this case we have chosen the text to be "Easify Electricals Ltd". Note that we have placed each word on a separate line by pressing the Enter key on the keyboard after each word. Text can be as many lines as you want it to be.
We are also going to tweak the style of the text to make it look a bit more interesting...
On the toolbar are various buttons for editing the style of your text.
Here we have changed the font to be Franklin Gothic Medium, the font size to be 22 point, the style to be Bold Italic, and the colour of the font has been changed to blue.
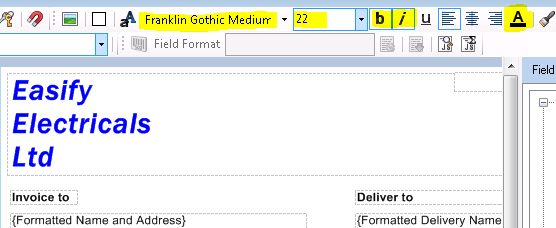
When you have finished editing your text, simply click off the text to de-select it. In other words, click anywhere outside the text i.e. click on the document background.
Click here for more information about the text formatting options on the toolbar.
Adding New Text to a Document
Next we're going to add some new static text to our invoice...
We want our invoice to include the company tag-line "The Power to Serve You...". We're going to have this text following on from the company name.
To insert static text to your document, first select the section that you want to place the text in. To select a section simply left click within it on its background in the Document Designer. In this case the section we need to select is Report Header 1. Then click the Insert Static Text button.
Click here for more information about Working with Sections.
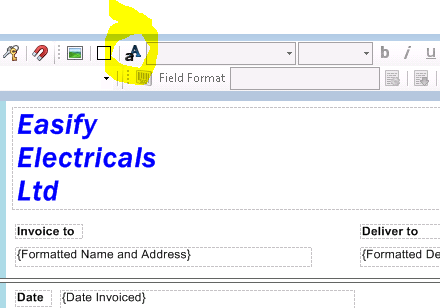
A new static text field will be inserted into the top left of the selected section in the Document Designer.
Next the text is dragged into position in the Document Designer by left clicking on it and holding the mouse button while you drag it. You can also nudge the text into position when it is selected by pressing the arrow keys on your keyboard.
We have also made the text box longer by dragging the little square resize handles as appropriate.
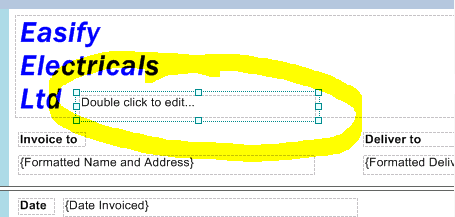
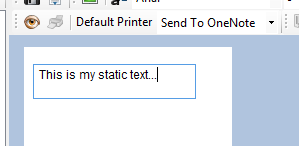
To edit the text double click it.
You can apply styling to the text via the buttons on the toolbar.
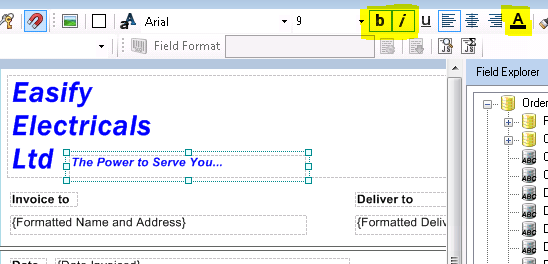
When you have finished editing your text, simply click off the text to de-select it. In other words, click anywhere outside the text i.e. click on the document background.
Click here for more information about the text formatting options on the toolbar.

