Electronic Point of Sale (EPOS or POS)
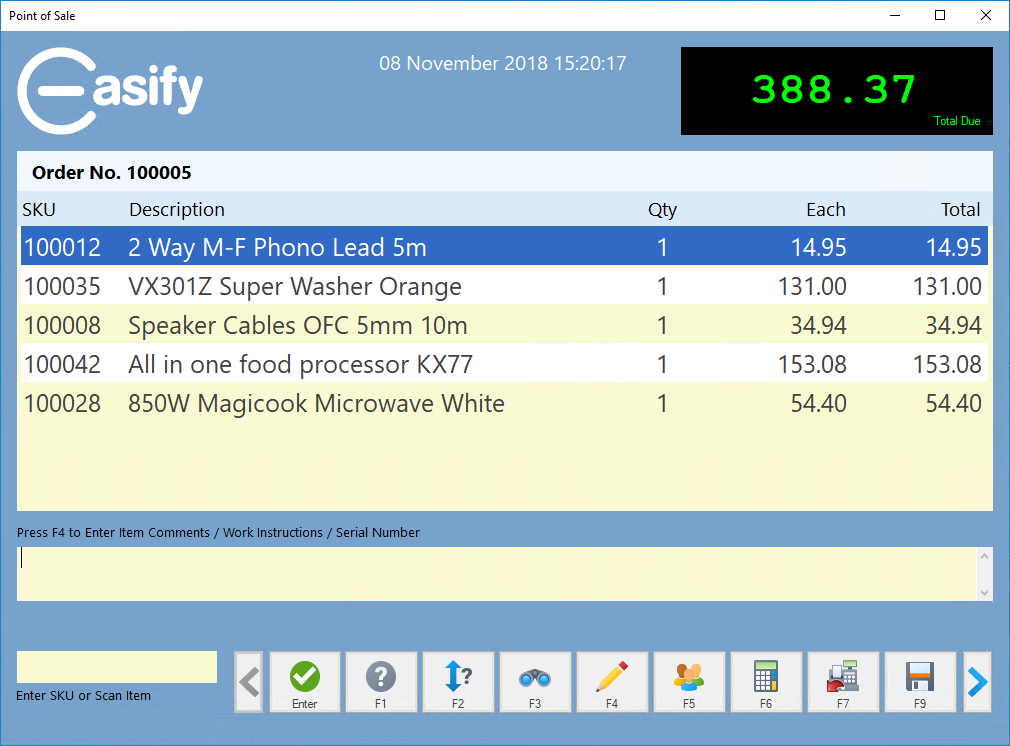
Easify comes with EPOS functionality as standard and it is included in both the On Premises and Cloud versions of Easify. It allows you to easily process sales and take payments as you would via a till.
It is also effectively a "front end" for the Orders and Quotes window. We often refer to the Orders and Quotes screen as the backend to differentiate it from the POS but the two are very similar and just different views of the same data.

What's the difference between EPOS and POS?
Not much, EPOS stands for Electronic Point of Sale, whereas POS stands for just Point of Sale. So an old fashioned till would be a POS, but it wouldn't be an EPOS as it's not Electronic.
Any Sales that you make through the POS will be raised as Orders, which can be accessed from the Orders and Quotes window.
For more complex orders or for quotes, you might prefer to raise the order via the Orders and Quotes screen, and save it. You can then open the order in the POS using the F9 button.
Similarly, any orders that you raise in the POS will be accessible via the Quotes & Orders screen.
If you choose to run Easify in the Automatic Stock Control Mode, when as you sell products via the Point of Sale Easify will automatically reduce your stock levels as you go, plus it will warn you if you try to sell products that have been reserved (allocated) for someone else.
If you raise an order via the POS, and then press F9 to save, Easify will automatically allocate any available products to it.
Easify keeps detailed records of all financial transactions that you run through the POS, which you can call up from any computer on your network on which you have Easify installed through the Cashbook or from the Billing tab on an Order (subject to user permissions.)

Via the intuitive EPOS screens not only can you sell products, you can add new customer records, add detailed notes to sales or orders and take full payments, part payments and deposits.
All POS functions can be accessed via keyboard shortcuts such as F3, F5, F12 etc... POS functions can also be activated by pressing the relevant on screen button. The button bar at the bottom of the POS window that holds the POS buttons can be scrolled left and right using the arrow buttons at either end to reveal more buttons. Alternatively you can drag the button bar left and right with the mouse in order to reveal more buttons.
You can also connect any EPOS hardware you require, such as thermal receipt printer, barcode scanner and cash drawer (till) and you're ready to use Easify to run your point of sale.
Launching the EPOS System
You can launch the EPOS system by clicking the Point of Sale button in the lower left of the main easify window.
Getting Help
If you need help when you are in the EPOS system, simply press the F1 button.

This will display tool tips for the buttons and controls in the EPOS window for as long as you keep the button held down.
Click here to learn more about how to Raise a Sale in the EPOS
