EPOS - Product Touch Buttons (New in V4.77)
Overview
If you have a smaller number of products that you sell, and they are not really suited to having barcodes attached, you can use the POS Touch Buttons Screen to quickly add products to a sale with a single tap or mouse click.
This layout is perfect if you run a museum or other attraction where you mainly sell admission tickets and don't want to have to barcode scan or search for the same product over and over again. Simply navigate to the subcategory where the admission tickets are, and you can then tap a ticket to add it to the sale.
If you also run a gift shop alongside your attraction, you can still barcode scan gifts and souvenirs to a sale without having to leave the page of admission tickets.
Switching to the POS Touch Buttons Layout
To switch between the classic POS layout and Touch Buttons, simply press the F10 key on your keyboard or click the Product Buttons button at the bottom of the POS screen.

If you need to, you can flip between the classic and touch buttons layouts while processing a sale by pressing F10, you don't have to stick to a single way of adding products, even on the same sale. So if you want to switch between the two layouts during the course of processing a sale - feel free to do so.
All of the features of the POS are still available via keyboard shortcuts when in the new Touch Buttons layout. You can search for products by pressing F3, Save and Load a sale by pressing F9, and total the sale by pressing F12. As well as all the other keyboard shortcuts you are used to using.
You can still use a barcode scanner while in the POS Touch Buttons layout, the same as you would in the classic layout.
Browsing Categories & Products
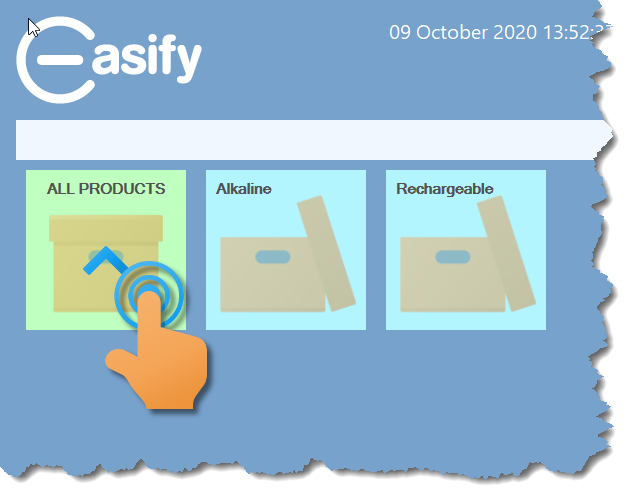
When you first go to the touch buttons view, you will see an array of buttons, each one representing a product category in Easify.
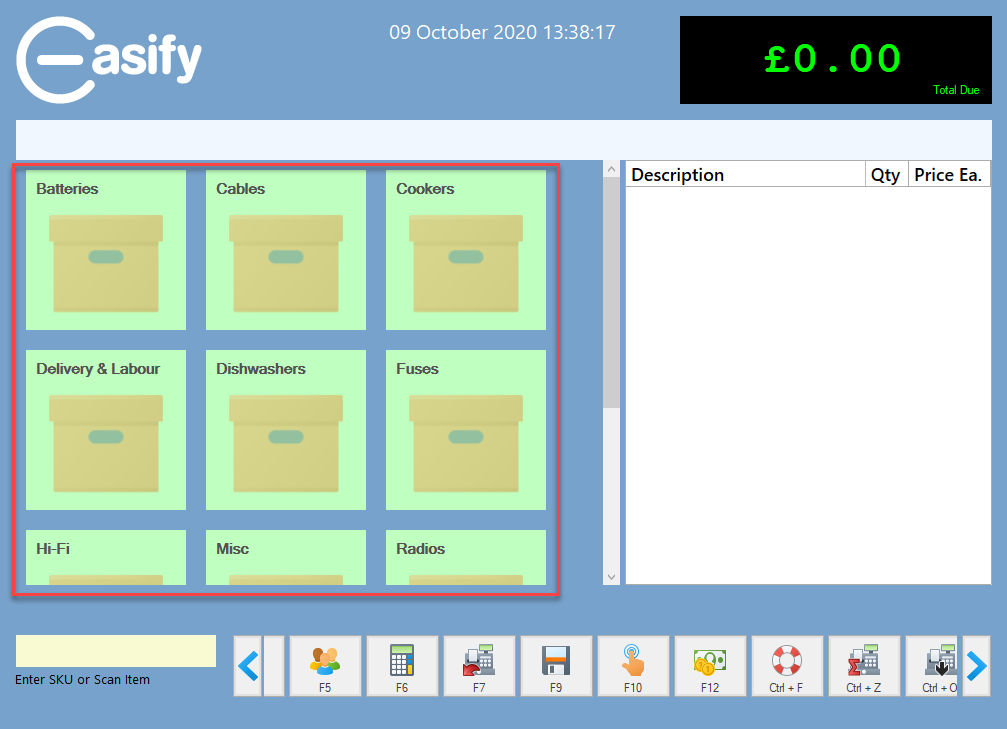
Tapping or clicking a product category will load up buttons representing the product subcategories within the selected category.

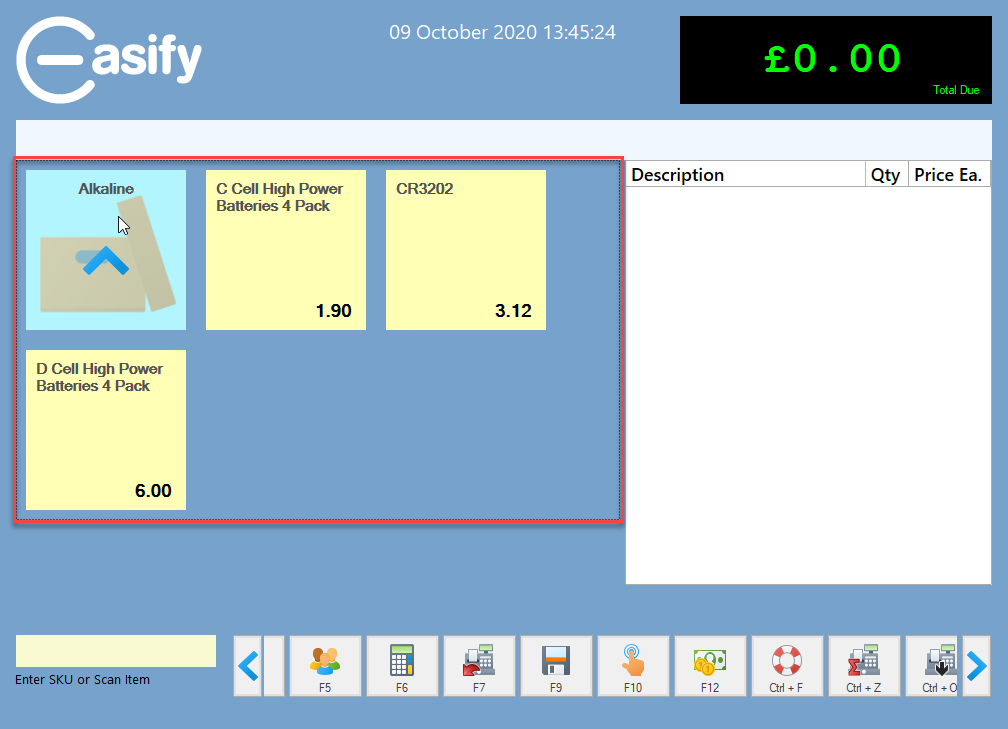
And tapping or clicking on a subcategory will display all of the products in the chosen subcategory.
You can navigate back up to the parent product subcategory by tapping or clicking the related parent subcategory button.
And you can navigate back up to the main list of product categories by tapping or clicking the ALL PRODUCTS button.
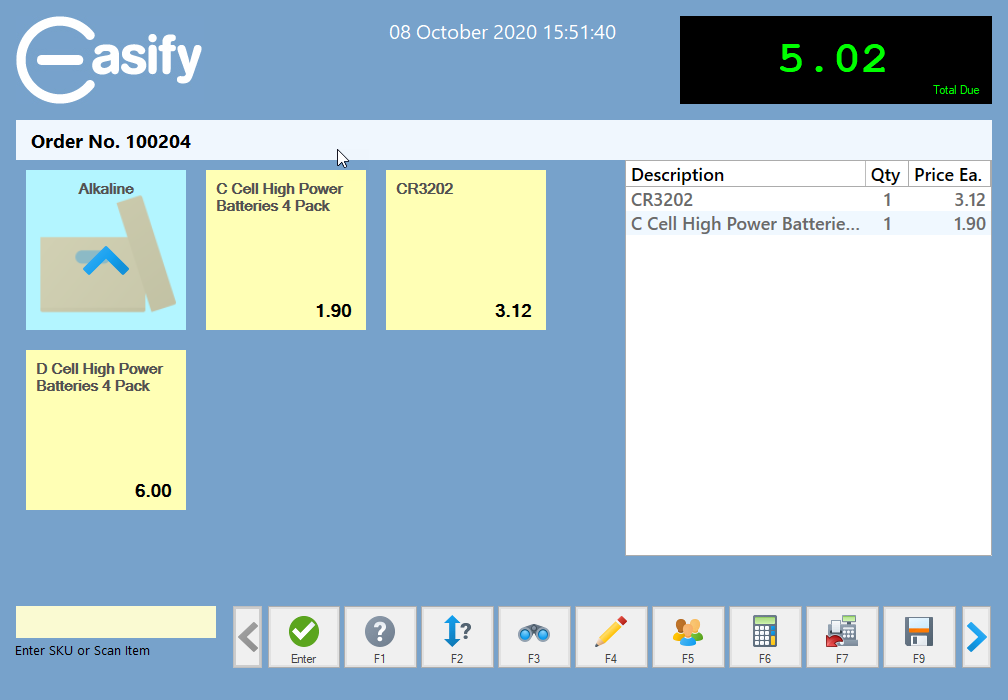
Adding a Product to a Sale
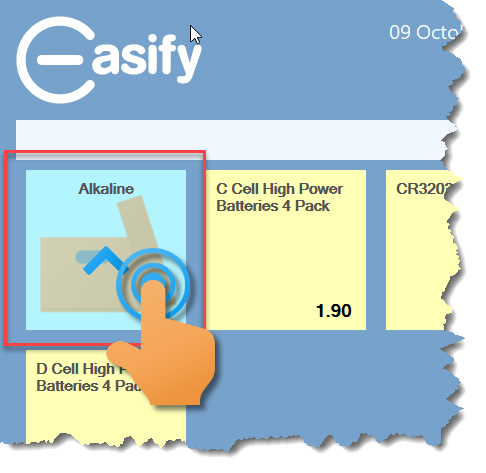
Each product is represented as a button on the screen, and tapping or clicking a product button will immediately add it to the sale.
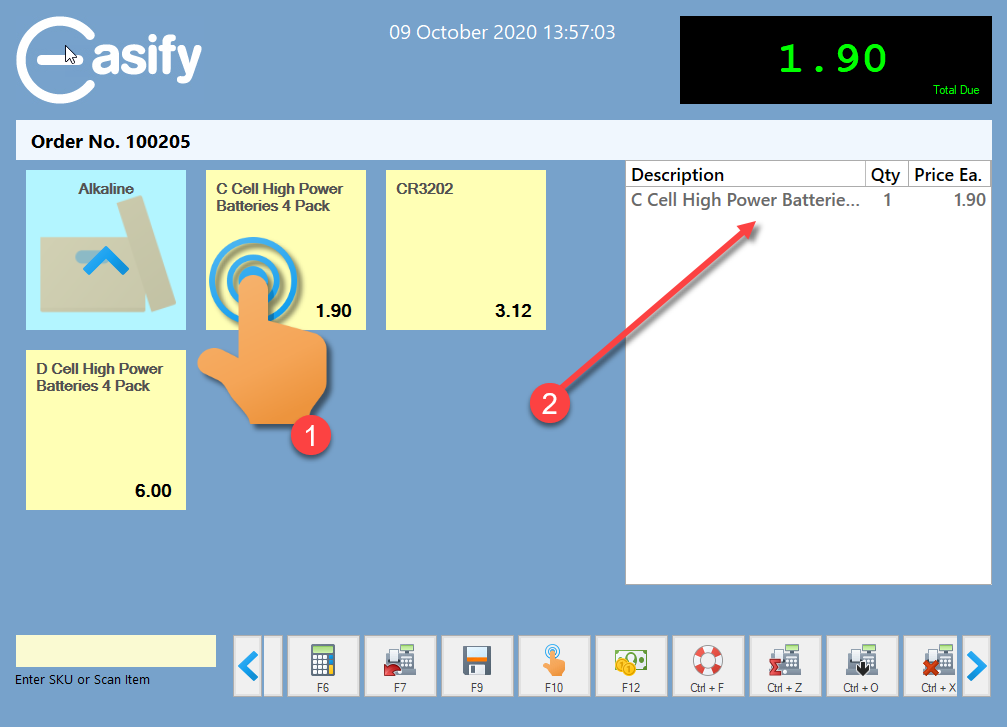
The product buttons display the product description and the product price.
Customisation
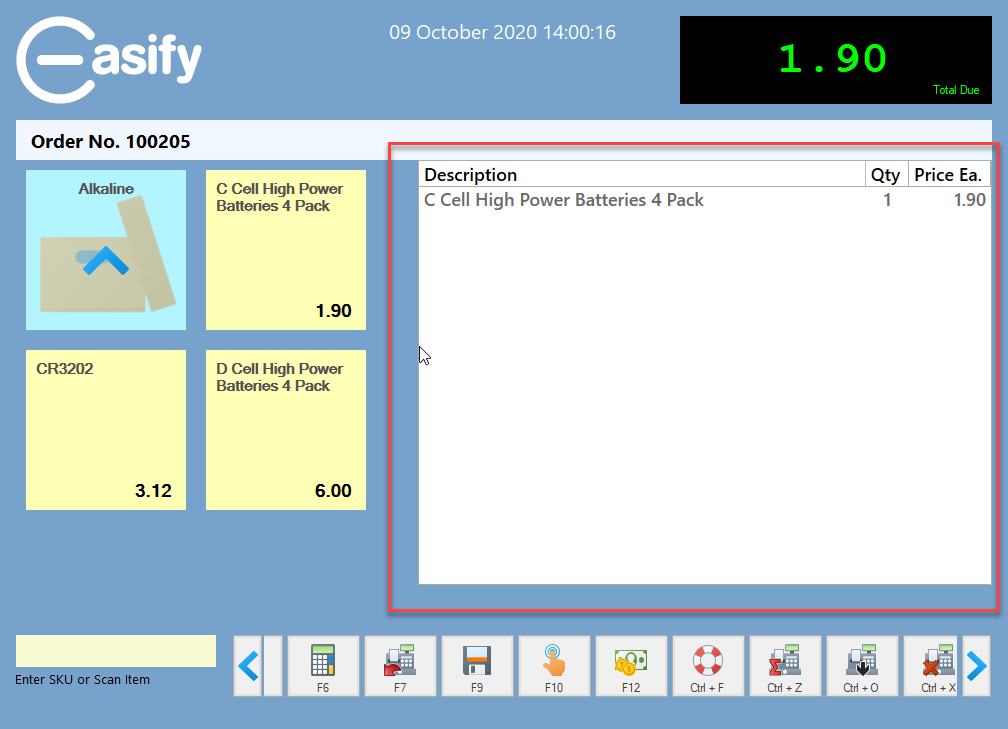
You can make the list of items on the sale wider by dragging the left edge of the line items list to where you want it.
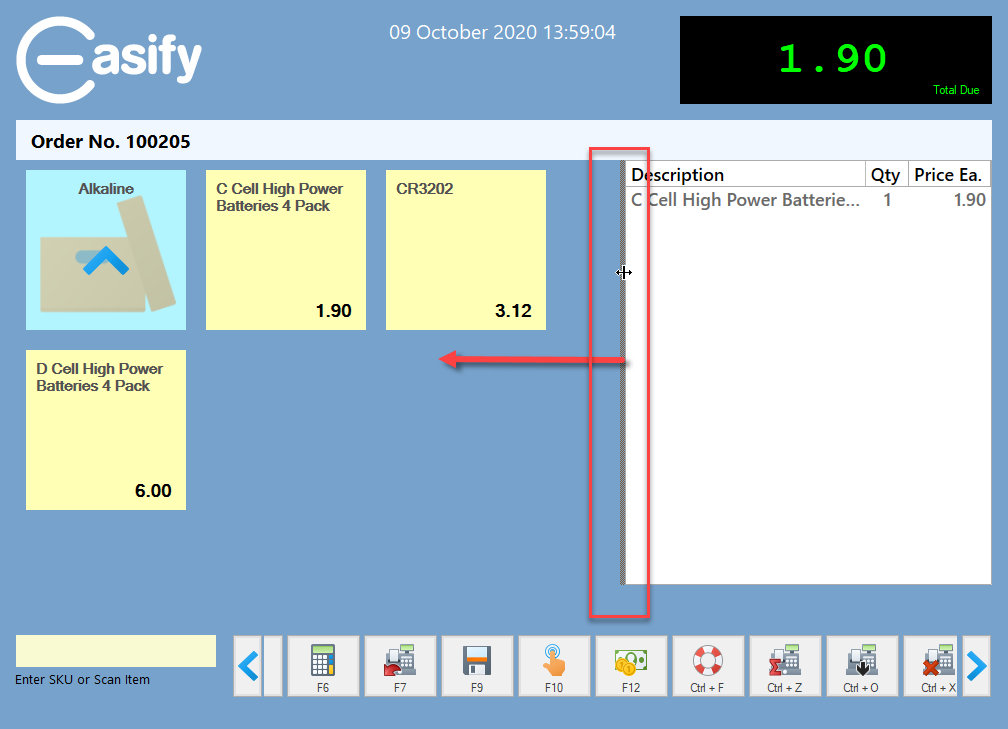
The new line items list width will be remembered the next time you open the POS.
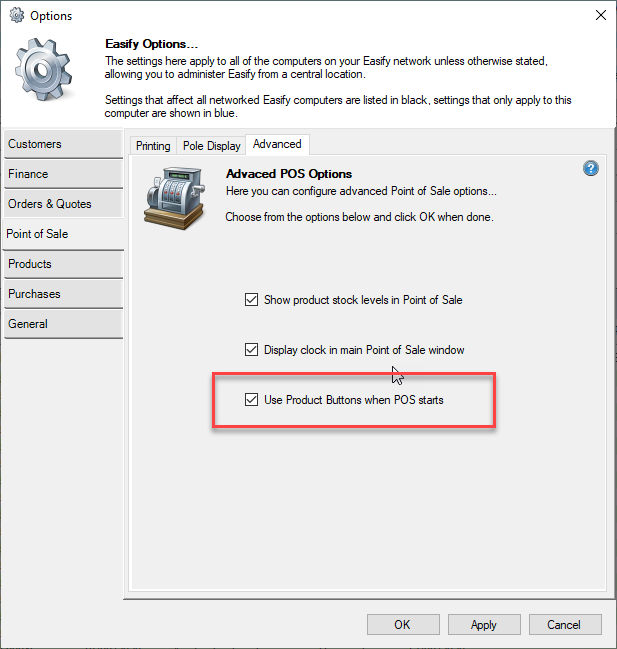
If you only ever want to use the new POS buttons layout, you can set this in Easify Options so that the new layout will be the default one that you see when you load the POS.
Performance
Bear in mind that if you frequently navigate between different product categories, all of the product buttons have to be loaded into the POS each time. So if you have hundreds of products in a category this can slow down the loading of the Touch Buttons Screens.
In this case you might want to re-organise your products in Easify so that any subcategories that you want to access using a Touch Button layout in the POS contain as few products as possible.
