Using a Credit Note to pay for a Purchase
The example below assumes that we have an amount of £100 credit with the supplier "Electrical Supplies Ltd" and that we wish to use this credit against a supplier invoice.
Creating a Credit Note
-
Raise a new purchase to be used as the Credit Note
- Add the Supplier you have credit with to this purchase

-
Add an appropriate description to the blank line item
- Unlike customer orders, you can just enter a description here without creating an actual product

-
In the Total field for the line item, calculate the credit amount before tax, enter it in to the line item "Total" field and make it a negative value
- In this example, in order to make the total amount of credit correct we enter the credit amount excluding VAT (83.33) in to the Total field of the line item and put a minus sign in front of it.

- Apply changes to save this Purchase order
Using a Credit Note as payment against a Purchase
Please note that when using the steps below, you must be at a point where you are ready to pay the full amount for the purchase
Now we have a credit note saved on the system, let's say we have a new Purchase Order for the Supplier and wish to use the credit note as payment against the invoice for this order.
-
Open the Purchase Order that you want to make the payment on
- In the screenshot below, we have a purchase order for 2 radios from the supplier and now we want to use the credit note to offset against the payment for this order.

-
Click the "Make payment for this purchase" button

-
Enter the total amount payable on the purchase and add a reference to the credit note in the Comments section

-
Click OK to take payment

- Save changes and close the purchase order
-
Open the Credit Note and click the "Make payment for this purchase" button

-
Enter a negative payment in the "Amount Paid" field equal to the amount on the credit note and add a reference to the credit note in the Comments section

-
Click OK to take payment

- Save changes and close the purchase order
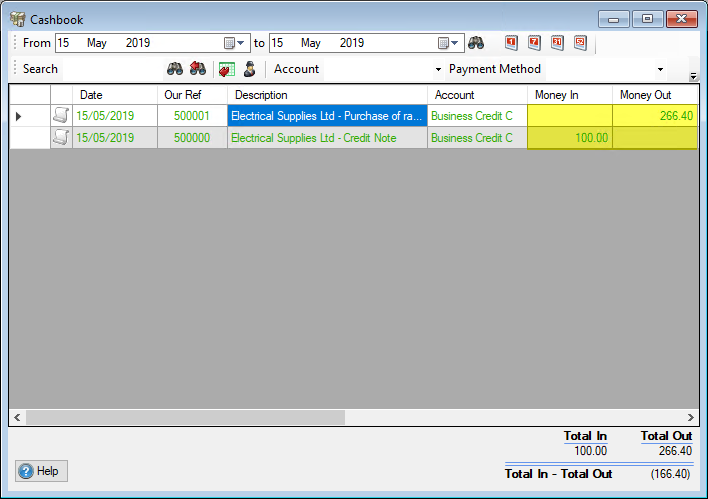
Here is how it looks in the Cashbook:

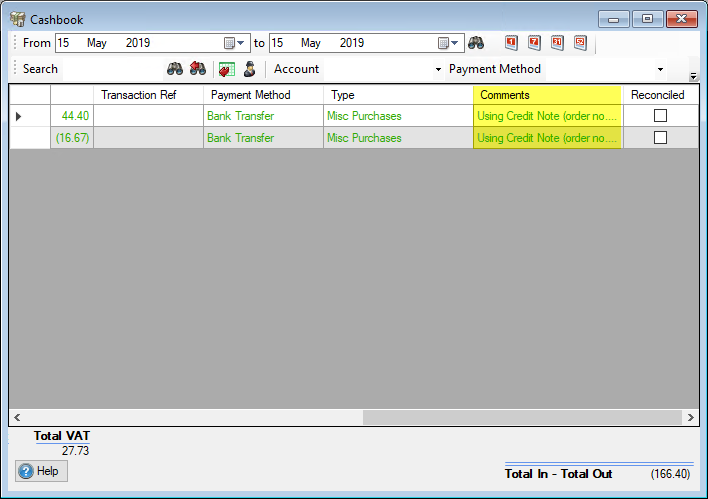
And if you scroll along horizontally to the right you can see the comments which were entered in the previous steps:


