Paperwork Designer - Advanced Field Formatting
Formatting Mergefields
When you add merged text fields to a document, you can specify how you would like them to be formatted.
For instance if you add a date field to the document you may want it formatted as full day name, followed by full month name followed by 4 digit year, or you may simply want it formatted as 2 digit day, 3 letter month abbreviation and 2 digit year.
For a price field, you might want the price formatted to two decimal places with the currency symbol to the left. And you might want the words "inc. Tax" to appear after the price.
The Field Format area of the toolbar allows you to achieve this and more.

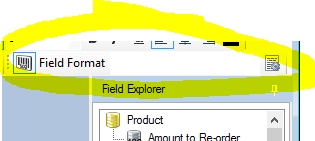
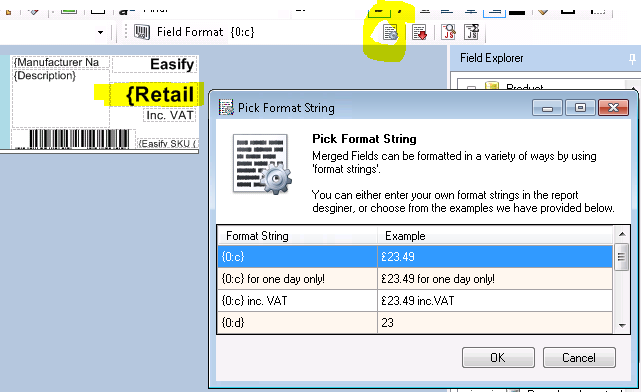
The Field Format area of the toolbar consists of two parts, a text box where you can type in format strings, and a Pick field format button that pops up a format string picker that allows you to choose from pre-defined format strings.
The easiest way to use formatting is to simply select the merged text field in the Document Designer that you want to format, and click the Pick field format button to launch the format string picker.

The format picker will display format strings that are suitable for the type of merged text field you have selected i.e. Date, Price etc... Simply select the example that gives you your desired format and click [OK].
Formatting Barcodes
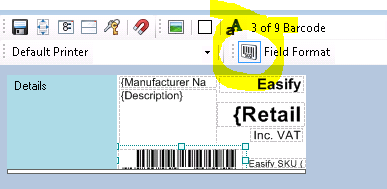
If you want to display a mergefield as a barcode, you can select it in the Paperwork Designer and use a barcode font such as 3 of 9 Barcode.
However, for a barcode to be properly read by a barcode scanner it needs to have an asterisk as its first and last characters. In other words, the number 123456 must be printed as *123456* in order to be recognised as a barcode.
When you use a mergefield for printing barcodes, clicking the Use Code39 Barcode Delimiters button will cause the asterisks to be automatically inserted when you print the document.

If you ever experience problems with barcodes not scanning, check that the Use Code39 Barcode Delimiters button has been selected.
Customising Mergefield Wording
With format strings you aren't limited to just dictating how a number or date will be formatted, you can also include wording that you would like to form part of the formatted text.
If you want to customise your chosen format string with additional text, you can add this to the format string either before or after the curly braces.
Adding Wording to a Product Price
For instance, if you want your merged text field to be a price that displays as "Price £3.49 including tax and delivery!!!", simply pick a format string that gives you the formatted price - which in this case would be "{0:c}", and then change the format string to be "Price {0:c} including tax and delivery!!!".
Here we have Inserted "Price " before the curly braces, and " including tax and delivery!!!" after the curly braces.
Whenever we print this document the text {0:c} will be automatically replaced with the actual price of the product, formatted as we want it.
Formatting an Order Number
The above approach is useful for mergefields such as Order Numbers too.
To have the order number appear on a document as "Invoice No. 123456", rather than using a static text box that says "Invoice No." and a separate mergefield to the right of it for the Order Number, you could instead just have the mergefield and make the format string "Invoice No. {0}".
Again, when the mergefield is printed, the {0} part of the format string will be replaced with the mergefield value (which will be the order number) so the end result is a single field that says "Invoice No. 123456" (or whatever order number you are printing).
Conditional Text Formatting for Binary Mergefields
This feature sounds very technical, but simply put it means that if you have a mergefield that contains a True/False value, you can use a format string that will display one value when the result is True and another result when the value is False.
Examples of binary mergefields are things like whether an order is Invoiced, whether an order is Paid, whether a product is Discontinued etc... Basically any mergefield that produces a Yes/No or True/False result.
The format string to achieve this looks like this: {0:Text to display if False;Text to display if True}
An example of this type of formatting in action can be found in Document Footer 3 in the Invoice Document. Here we have the Order Paid mergefield in the section, and the format string is {0:;PAID IN FULL}.
What this format string does is, if the Paid is True then display "PAID IN FULL", if Paid is False then display nothing.
This means that if the Invoice is Paid we display "PAID IN FULL" at the bottom of the invoice. Otherwise we don't display "PAID IN FULL".

