Paperwork Designer - Document Security
All of the documents that you create in Easify can be locked down so that they can only be printed by users of your choosing.
Each document has its own permissions, and these can be edited either within the Paperwork Designer, or from the Main Easify User Permissions Editor.
Editing Document Security via the Paperwork Designer
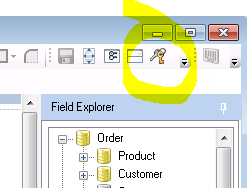
To edit document permissions from the Paperwork Designer, first load the document you want to set permissions on into the Paperwork Designer. Then click the Document Security button on the toolbar of the Paperwork Designer.

The Document Security Window gives you a list of Easify users.

Simply tick each user that you want to be able to print the document. Click OK when done.
Editing Document Security via the Main Easify Window
To edit document security from the Main Easify Window, go to the Security menu and click Manage Users.

In the Manage Users Window, select the user you want to edit security for and click Edit.
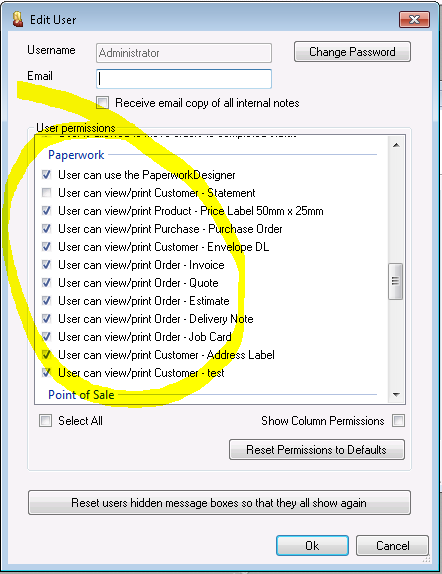
In the Edit User Window scroll down in the User Permissions box until you find the Paperwork section.

Here you will see a list of all of the paperwork documents that are stored in Easify. Simply tick each one that you want that user to have access to.
Click OK when done.
Document Security and the Point of Sale (POS)
If you are using the advanced printing options to automatically print documents from the POS when you total a sale, note that Document Security is also applied there.
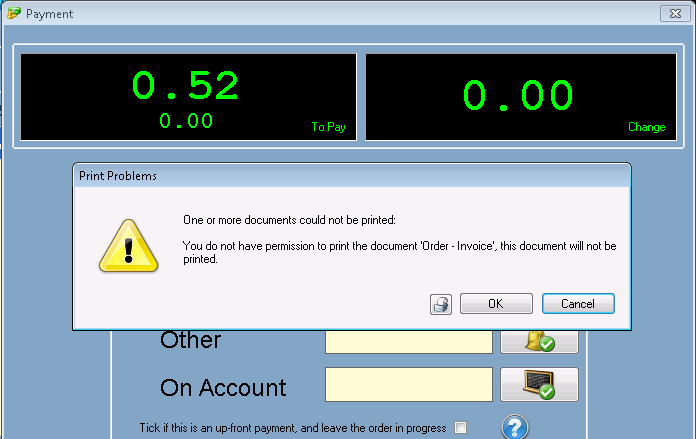
If a POS user totals a sale and the POS attempts to automatically print a document that they do not have permission to print, the document will not be printed and the user will be warned that they did not have permission to print the document.


