Editing a Customer Record
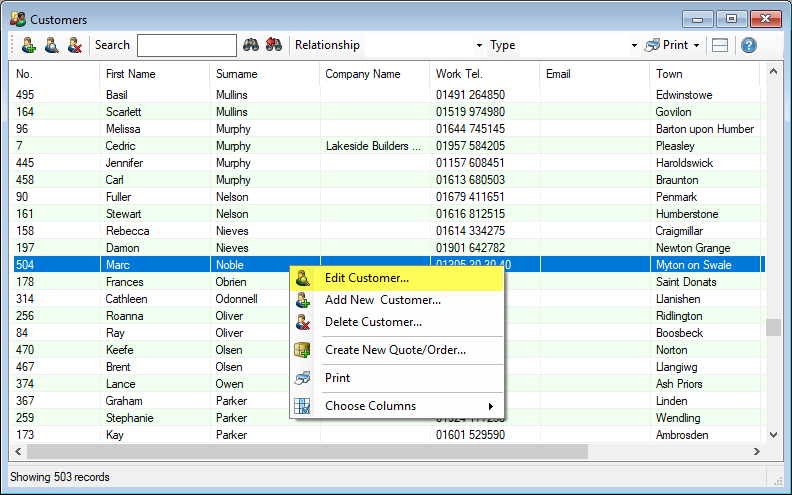
To edit a Customer Record, double-click on a customer from the main Customer window. Alternatively, right-click on a customer and select Edit Customer…. This will open the Edit Customer window.
There are 6 tabs in this window and each tab is explained below.
Customer Details Tab
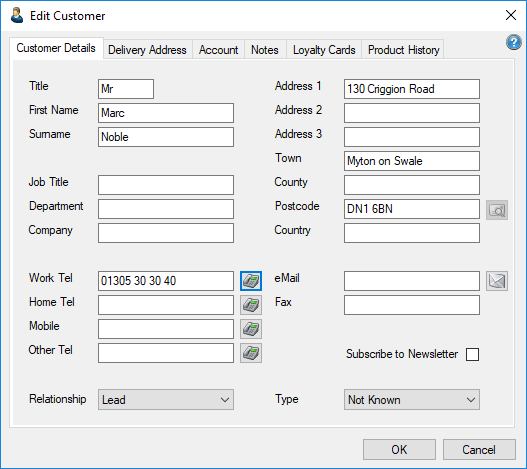
Enter the details you would like to keep on record for the customer and click OK to accept and confirm the changes.
Delivery Address Tab
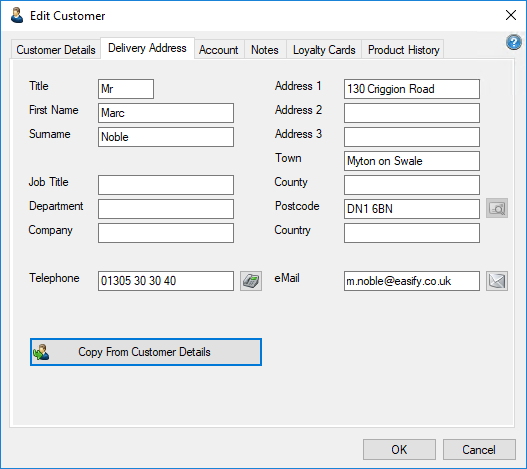
On this tab you can store a delivery address for the customer.
Account Tab
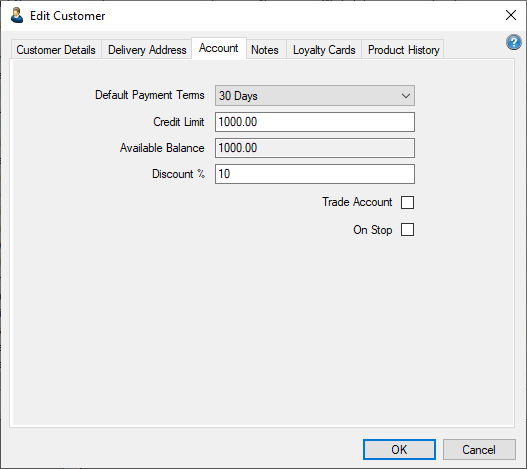
Each customer in Easify can have their own account terms which can be managed on this tab.
- Default Payment Terms: Choose from the defaults or create your own ones on the Tools Options Finance Payment Terms tab.
-
Credit Limit: This is used to set a limit on how much the customer can purchase “On account” when using the POS. However an order will only show on a customer's account once it has been invoiced. It also determines whether payments are shown as Overdue when printing customer statements.
Example: If a customer has a credit limit of £1000 and they have 30 Days payment terms with you, and they purchase £1500 of goods on account, their statement will show that they actually owe £500 now because they are £500 over their credit limit.
- Available Balance: Shows how much of the customer's Credit Limit they have available to spend.
- Discount: Enter a percentage value to automatically apply a blanket discount to every order that is raised for this customer.
- Trade Account checkbox: If this box is checked then any products you add to an order for this customer will be automatically added and sold at Trade Price. Please see our Product Pricing support article for more information.
- On Stop checkbox: Tick this box to show that the customers account has been put on stop. Easify won't stop you raising orders for this customer, but if you have enabled Active Credit Control, the Point of Sale can be set up to stop your staff from allowing sales through the POS.
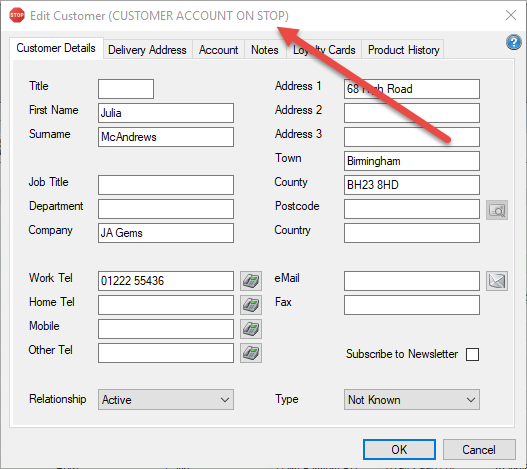
If the customer has been put On Stop their details will show in red in the main Customers window and a STOP sign will show when you open the customer details.
Notes Tab
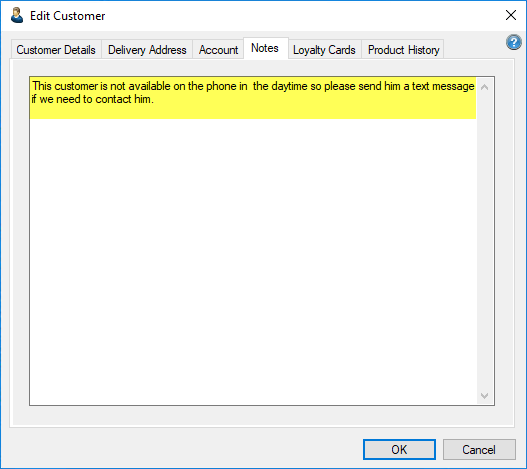
Enter arbitrary text on this tab to add notes to a customer record, and click OK to save your notes to this tab.
Loyalty Cards Tab
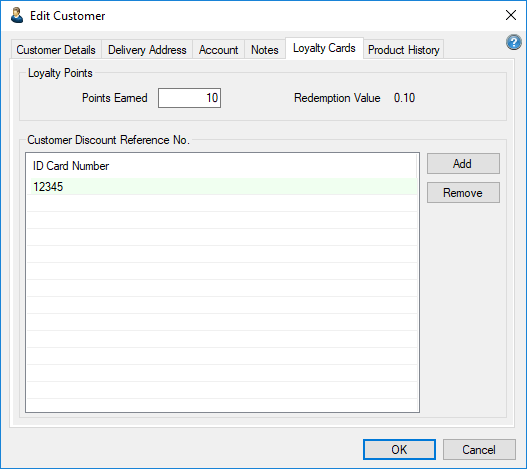
To be able to use this feature, you first need to enable Loyalty Points on the Tools Options Products Loyalty Points tab. Please see our Earning Loyalty Points article for details of how to utilise this tab.
Product History Tab
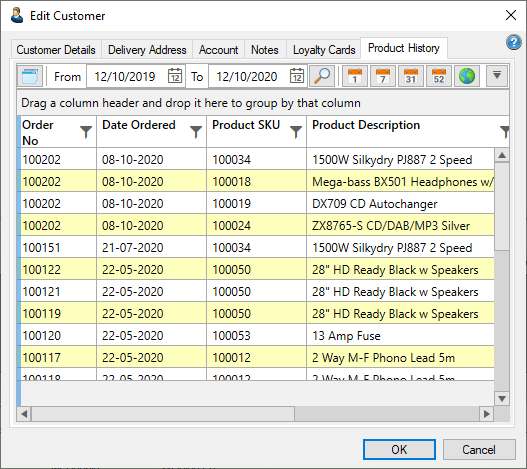
Details of the customer's previously purchased products are displayed on this tab. First select a date range, then click the Search (magnifying glass) icon to load the requested data.
As from V4.77 this tab was updated to show the Live Reporting view which enables you more flexibility to sort, group and filter the data.


