Finance - Bulk Invoicing
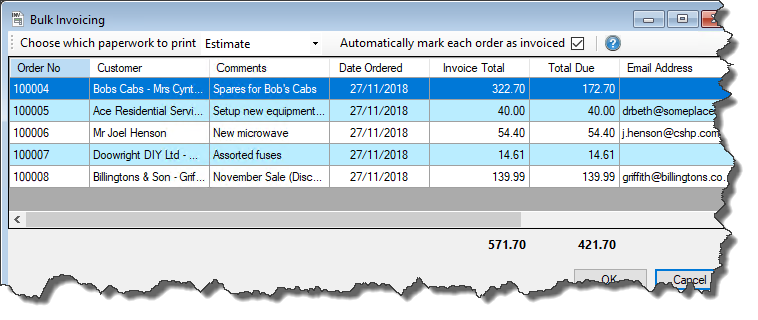
The Bulk Invoicer gives you the ability to print, email and save paperwork for all completed and un-invoiced orders that are currently raised in Easify.
Note: only orders that are in a status of complete but haven't yet been invoiced (i.e. the invoice tickbox on the billing tab is unticked) will show in the bulk invoicer.

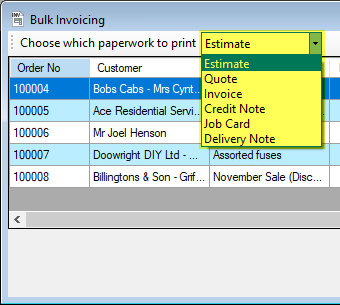
Choose which paperwork to print

By default Easify will automatically select 'Estimate' as the paperwork to be printed for each of the displayed orders. By using the drop down list you can select different documents to be printed, including any new documents that you have created in the Paperwork Designer.
Automatically mark each order as invoiced
If this checkbox is ticked when you click the OK button, Easify will automatically mark the order as invoiced and enter today's date on the billing tab.
Column totals

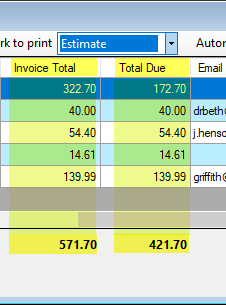
The total of the order including VAT (where applicable) will show under the Invoice Total column, whereas the amount due (which will take into account deposits, part payments etc) will show in the Total Due column. At the bottom of each of these you can see the grand total of each of these columns, as highlighted in the screenshot above.
Select all

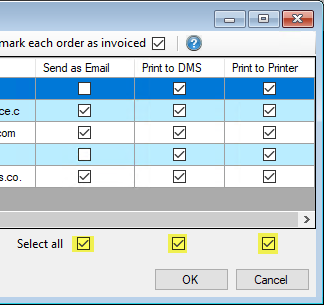
If you tick select all, Easify will put a tick in every checkbox above it. If a checkbox is greyed out it is likely because it has not been enabled in the Easify Options or there is a problem with an order such as not having a valid email address.
Send as Email
If you have selected Send as Email then when you click OK, Easify will create an Outlook email for each order you have selected. The customer's email address will automatically be added to the email and a PDF version of the paperwork you have chosen will be attached.
Make sure that you have enabled the Microsoft Outlook integration option on the Tools Options General Document Management tab to use this feature .
Print to DMS
If you have selected print to DMS when you click OK, Easify will save a PDF copy of the paperwork you have chosen to the Document Management location for each order.
Make sure that you have enabled the Document Management option to use this feature.
Print to Printer
If you have selected print to printer when you click OK, Easify will print the selected paperwork to your default printer.
The default printer for each piece of paperwork can be set in the Paperwork Designer.

