Using the Document Management System (DMS) with DropBox via Network Share (Advanced Setup)
Overview
If you want to use the Easify DMS from a remote computer, or just like the idea of having your documents stored and accessible in the cloud, this guide will show you how to setup the Easify DMS to work in conjunction with DropBox.
Note that this is an advanced guide that makes use of network shares to allow multiple PCs on a LAN to use a single DropBox account for multiple users. With this configuration each PC on your LAN does not need to have DropBox installed, all the files are synced to DropBox from a central PC. The PCs on your network access the synced folder via a mapped drive letter across your LAN.
If you only require a basic setup where you can store the Easify DMS files in DropBox and access them from multiple PCs all using DropBox then we recommend following the basic guide here - Using the Document Management System (DMS) with DropBox .
With DropBox basic you should always keep a backup of your files in a separate physical location to your computer and on a backup device that is not physically connected to the computer being backed up. If you have a paid DropBox plan, this will come with a 'rewind' facility that allows you to restore your files to an earlier state should they become encrypted.
When you use the Easify DMS in conjunction with DropBox, any files that you store using the Easify DMS will be automatically uploaded to your DropBox folder in the cloud, and similarly and files that you add to your DropBox folder will be available in the Easify DMS.
This means that you can access files stored in the Easify DMS from anywhere.
Getting Started
In this guide, we're going to assume you are already familiar with DropBox and that you know how to download it, install it and use it.
The first thing you need to do is to determine where your Easify DMS folder is going to be stored. Typically you would want this to be on your Easify Server computer, however if you are using an Easify Cloud Server then you can just choose to store your Easify DMS files on the best computer or server that you have in your premises. Bear in mind that the computer that you store the DMS files on must be always on and connected to the Internet, so a roaming laptop is not the best choice for this unless a roaming laptop is all you have.
Before you start getting everything setup, remember that the Easify DMS simply stores files in a folder on a Windows based PC or laptop. You configure where this folder is in Easify Options.
What we are going to do here is install DropBox on our chosen computer and tell Easify to store the DMS files in the DropBox folder.
The trick to doing this is to share the DropBox folder in Windows, and then map a network drive to the shared DropBox folder. Then we will tell Easify to store the DMS files in the mapped network drive.
Installing DropBox
The first thing to do is to install DropBox and determine the location of the DropBox folder.
Installing DropBox is beyond the scope of this guide, so we recommend you refer to the DropBox documentation if you need help installing and logging in to DropBox.
Share the DropBox Folder
Next you need to share the DropBox folder in Windows so that it can be accessed by other computers on your local network. In this example we're using Windows 10, and depending on your network setup or which operating system you are using, what you see on your system may vary from what's shown below. However the principles are the same on all systems.
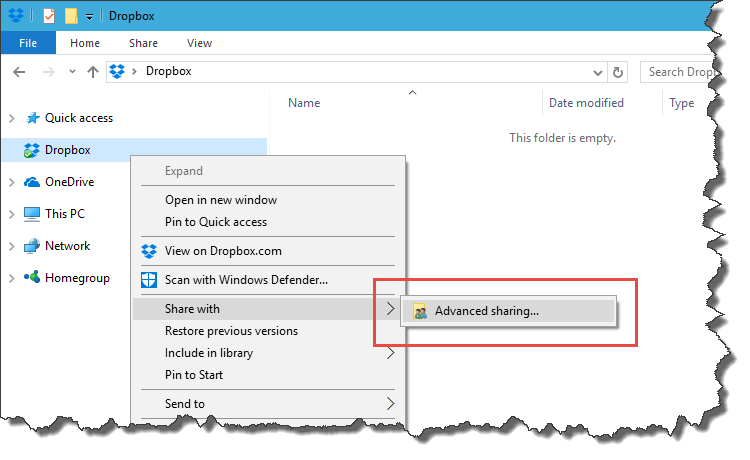
Open Windows Explorer, right click your DropBox folder and select Share with -> Advanced Sharing.
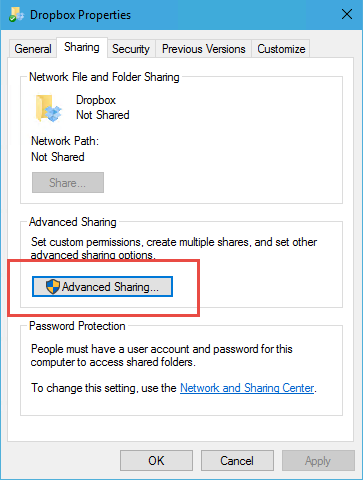
Next click the Advanced Sharing button.
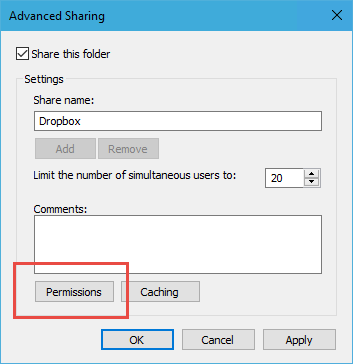
In the next Window click the Permissions button.
For this demonstration we're giving the Everyone user full control of the shared DropBox folder. In a production environment you wouldn't usually grant everyone full control as it can represent a security risk, you would want to be more selective as to who you grant access to.
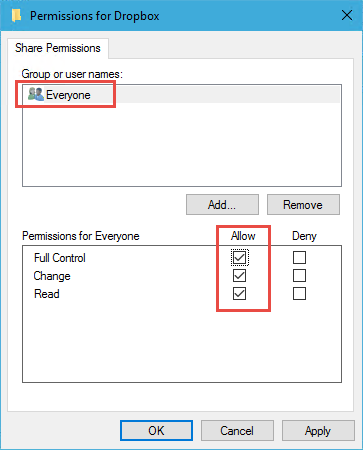
Click OK when done and you will return to the Advanced Sharing dialogue.
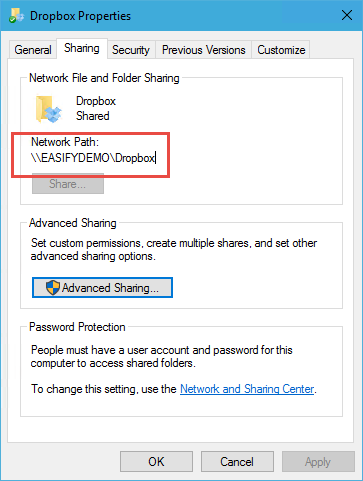
Here you will see the network path of the shared folder. You will need to note this for a future step.
Map a Network Drive to the Shared Folder
Now that we have shared the DropBox folder, we need to map a Windows drive letter to it.
Expand the Network in Windows Explorer and locate the shared folder within the computer that the folder was shared on.
This is the network path that you noted above e.g. \\EASIFYDEMO\DropBox

Right click the DropBox folder and select Map network drive....
In the Map Network Drive dialogue, choose a drive letter that you want to map to the shared DropBox folder. We recommend that you choose a drive letter in the top two thirds of the alphabet to leave room for the lower letters to be used for removable disks. In this example we will be mapping the letter 'N' to the shared folder.
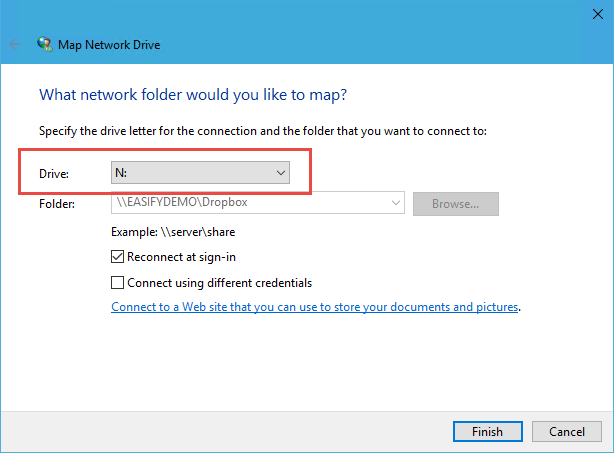
Make sure Reconnect at sign in is checked.
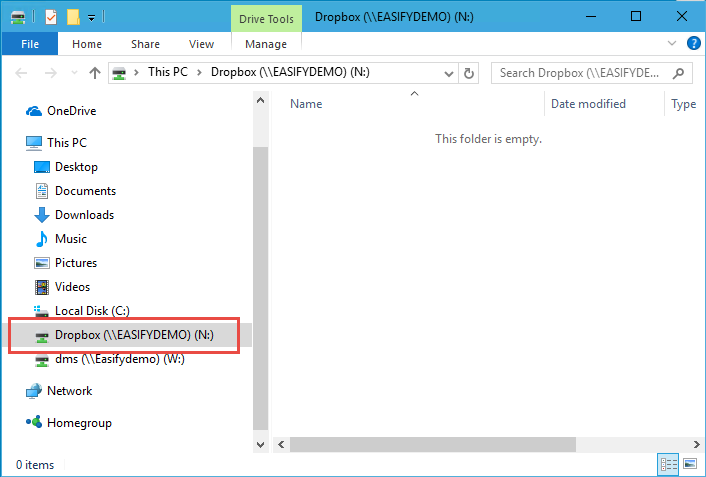
Click the Finish button and note that the newly mapped N: drive opens in Windows Explorer.
Tell Easify to Use the Mapped Drive for the DMS
Now we need to tell Easify where the DMS files are to be located.
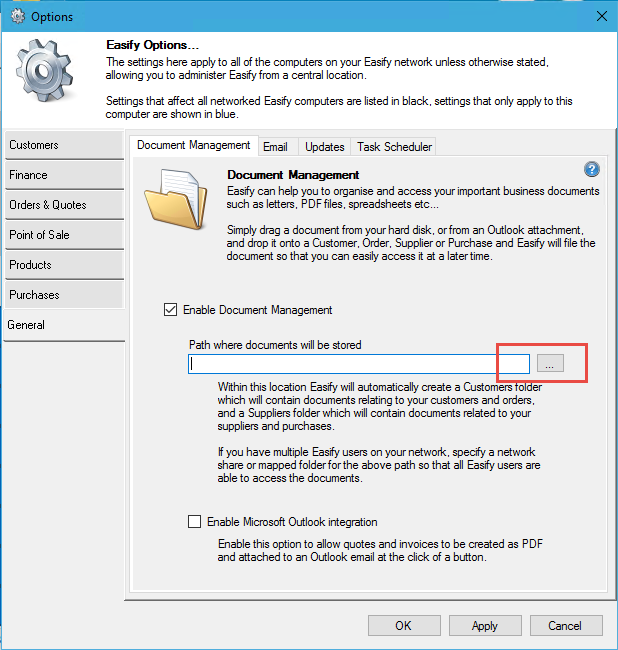
Go to Easify Options and select the General tab.
Make sure the DMS is enabled, and click the browse button.
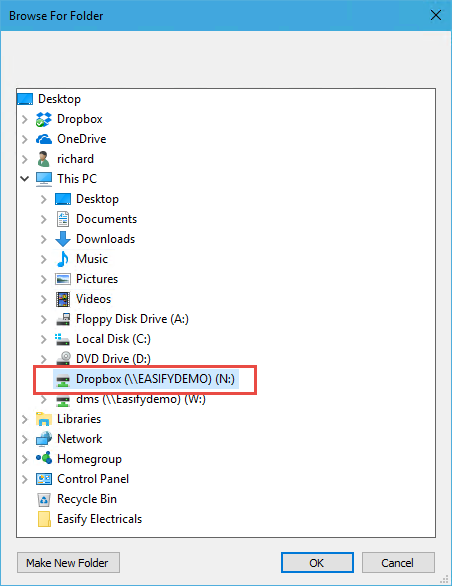
Expand This PC, locate the N: drive and select it before clicking OK.
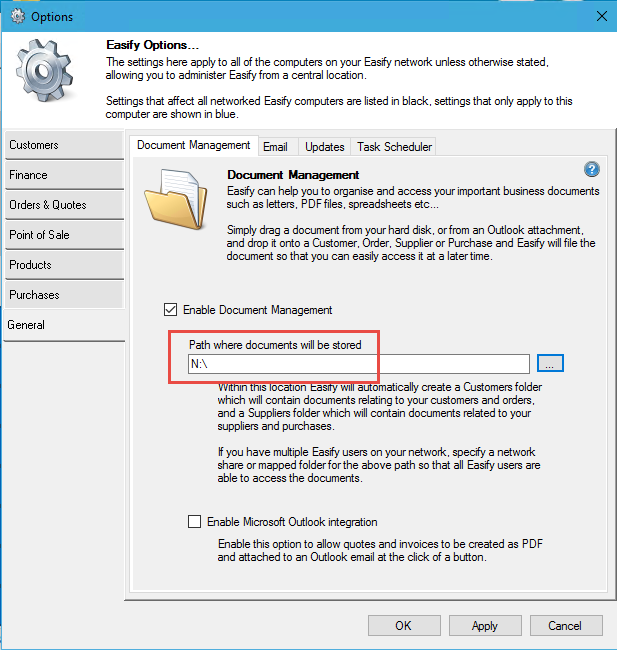
In the DMS Options Window note that the DMS path is now N:\ (or whatever drive letter you chose earlier).
Make sure it's all working...
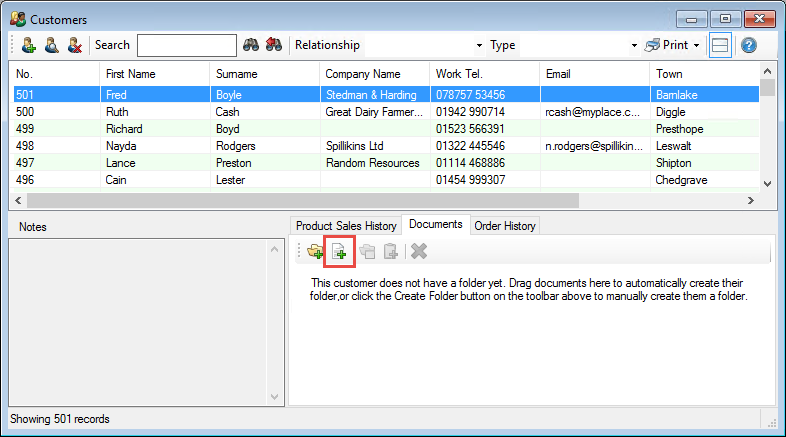
To make sure the DMS is correctly setup we're going to add a new file to a customer in the DMS.
We open the Customers Window and select the first customer.
In the DMS panel, click the Add File button.
In the next Window, choose a file to add to the DMS as a test.
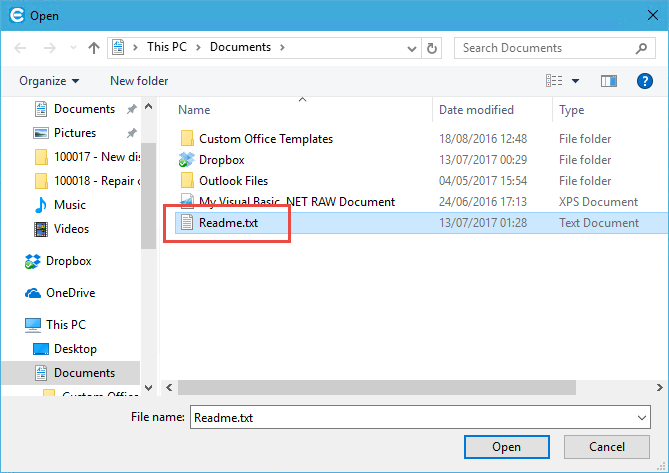
Click the Open button when done.
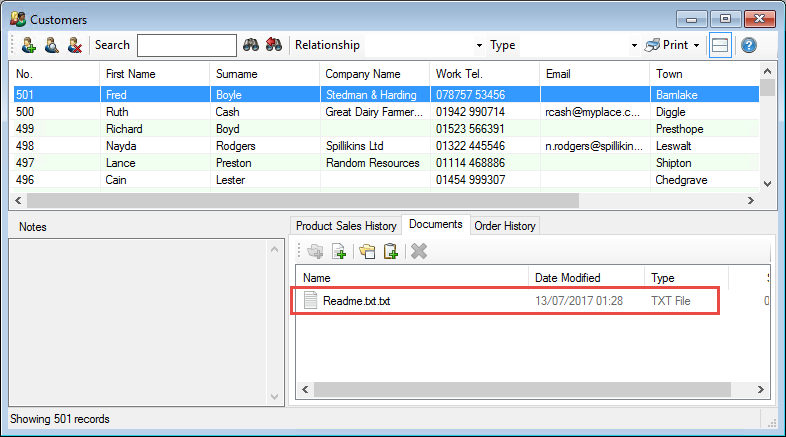
Note that the file you chose now appears in the DMS.
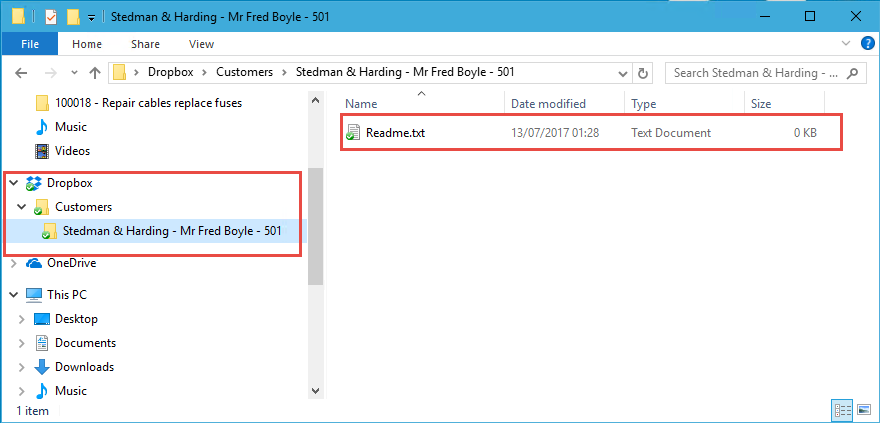
And finally, open Windows Explorer and browse to your DropBox folder.
Note that the test file you chose is in the DropBox folder and has been synced to the cloud.
From now on anything that you save to the DMS will be saved in the DropBox folder.
Copy Existing Files (Optional)
If you already have files in the Easify DMS in a different location, you could now copy them to the DropBox folder so that they are synchronised to the cloud, and also are available to the new location of the DMS.
What to do on fixed network computers...
For computers that are on your local network (LAN) and that will not ever be moved outside your premises i.e. fixed PCs, you will need to map the network drive letter you chose (in this example N:) so that Easify Pro can access the shared DropBox folder.
The drive letter should be mapped to the network share path that you determined above e.g. \\EASIFYDEMO\DropBox
When you save a file to the DMS in Easify, it will be saved in the N:\ drive (or whatever drive letter you chose), and because the N:\ drive maps to your DropBox folder on your server computer, the files will be automatically synced to the DropBox cloud.
What to do on roaming or remote computers...
If you have computers that are not fixed in the premises e.g. laptops that may be used in premises or from home or on the road, or if you want to use Easify on a PC at a remote location such as at another branch, you will need to set things up a little differently to how it would be with a fixed computer on the local network.
In the scenario where the PC or Laptop is located remotely i.e. not in the premises on the local network, you will need to install DropBox on the computer, share the DropBox folder as described above, and map your N:\ drive (or whatever drive letter you chose) to the shared dropBox folder on your PC.
This way when Easify saves files to the N:\ drive, they will be copied to the DropBox folder on your remote PC, and DropBox will then sync the files automatically to the DropBox folder on the main server back in your premises.
