EPOS - Setting the Float
When you launch the POS at the start of a working period, the till account will be zero and you will be prompted to enter the float amount into the till.

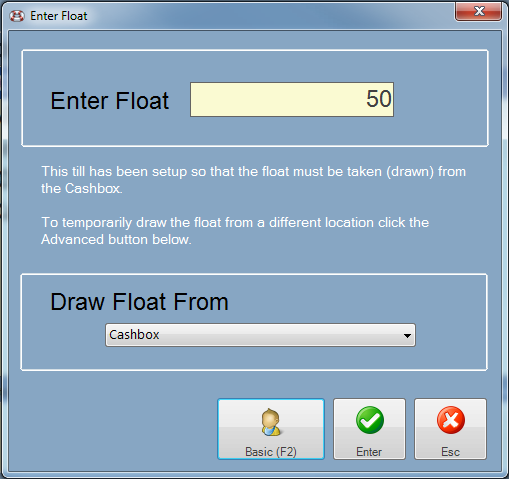
Enter the amount of the float that you will be putting into the till and click the Enter button when done.
You can enter more float money during a shift by clicking the Enter / Add Float button or by pressing the Ctrl + F key combination.
The float should be taken from the account specified on the Enter Float window (in this example the cashbox). Easify will then record that the float has been transferred from the cashbox to the till.
If you want to draw the float from an alternative location (a different account) you can click the Advanced button and select which account to draw the float from.

It is important to always draw the float from the correct account so that Easify can automatically raise payment transfers between accounts for you.
You can configure the way Easify routes payments including the float in the Payment Routing options window.

