ECommerce Channel Manager
ECommerce Channels Overview
Easify includes a multi-channel ECommerce notification system that can be setup to send notifications to your external website or 3rd party application when data within Easify has changed.
For example you can setup an Easify ECommerce channel to send notifications to your website any time a product stock level is changed. Your website could then be programmed to respond to this notification by contacting the Easify Server via the Easify API and retrieving the new stock level for the product.
You can create unlimited ECommerce channels in Easify, which gives you the ability to drive many sales channels from Easify.
ECommerce Channels are setup and managed using the Easify ECommerce Channel Manager that is built into Easify Pro.
ECommerce Channel Manager
Launching the ECommerce Channel Manager
You can launch the Easify ECommerce Channel Manager via the Products->ECommerce Channel Manager menu in the main Easify Pro window.

Initially the ECommerce Channel Manager will be blank, as you will not have created any channels yet.
Adding a new ECommerce Channel
To add a new ECommerce Channel click the Add a New ECommerce Channel button.
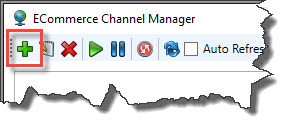
This will launch the ECommerce Channel Editor window.

We set the Channel Type to the relevant type for the type of connection, in our case we're connecting to a WordPress website.
In the Channel Editor window we have given the channel a meaningful description "Easify Electricals Website"
And have entered the Remote URL as the URL on our web server that is setup to accept the Easify ECommerce Channel notifications. Our WordPress website would accept notifications via https://www.easifyelectricals.co.uk/easify.
Send Delay has been left at zero. This means that when there are multiple notifications to be sent to the Remote URL, they will be sent back to back with no delay between them. If you want to limit the rate at which notifications are sent to your web server you can enter a value here in milliseconds. If you enter a value of (say) 250 milliseconds, there will be a delay of 250mS (1/4 second) between sending each notification.
We have also left Retry Delay at its default value of 15 seconds. This means that if the notification cannot be sent for any reason, 15 seconds will elapse before the notification is retried. This ensures that if your web server goes down for any reason, the Easify ECommerce Notifications are not repeatedly sent with no time delay between them.
The Channel Enabled checkbox has been ticked to ensure that the channel is ready to start processing as soon as we click the OK button.
In the bottom section of the channel editor is a list of all of the supported items in Easify that can trigger a notification to be sent. In this example we only want to send out notifications when Products are modified. In this case we are telling the ECommerce channel that any time someone modifies a product in Easify, i.e. they change the price of it, or the stock level changes, send a notification to our Remote URL (web server).
Finally, we will need to enter the username and password of the Easify Channel Subscription, in our case for a WordPress website. These credentials are setup when purchasing the Channel Subscription via our online shop.

The Private Key adds an additional layer of security. In our example we would enter the private key the Easify WordPress plug-in provides.
Click OK to save the new channel.
Note that your new channel is now visible in the Channel Manager window.

Managing ECommerce Channels
Now that you have an ECommerce channel up and running, it will sit there waiting for any of the selected Easify entities to change. As soon as an entity (such as a product) changes, a notification will be sent to your Remote URL. While this is happening you can monitor the progress of the outgoing notifications in the channel manager.
Tick the Auto-refresh checkbox and leave the interval set to 1 seconds.
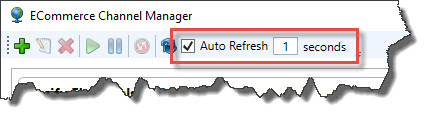
This will cause the channel manager to update the status of the channel display once per second.
Now go to the Easify Products window and make some changes to your products i.e. change the stock levels.
In the ECommerce Manager window you will see the status of the channel change to reflect the notifications are being sent to your Remote URL (web server).

As the notifications are successfully sent to your web server, the item count will decrease until there are no more notifications to send and the channel will go back to idle.
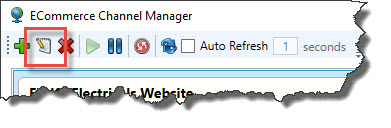
To edit a channel, select it by clicking it and then click the Edit button. This will launch the channel editor window.
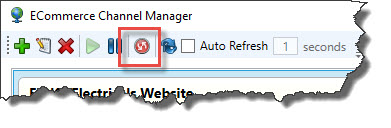
You can pause an active channel by selecting it and clicking the Pause button.
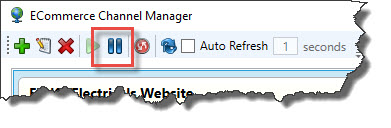
A paused channel can be resumed by selecting it and clicking the Resume button.
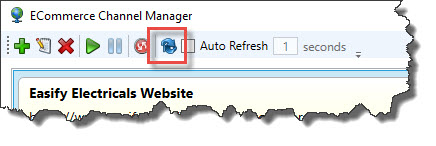
If you want to delete all of the pending notifications in a channel, select it and click the Purge button.
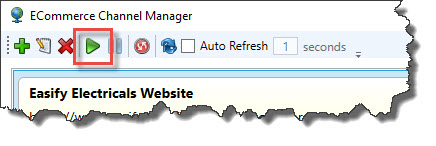
You can refresh the status of your channels manually by clicking the Refresh button.
ECommerce Channel Notification Message Format
Notification messages will be sent via HTTP POST to the Remote URL you specified in the channel settings.
If you specified a Basic Authentication username and password, these will be added to the credentials of the http request that is sent to your Remote URL.
The information that will be sent via HTTP POST to your Remote URL is placed in form variables within the http request that is sent to your Remote URL. The following form variables will be present: EntityName, KeyValue, Action, PrivateKey.
EntityName - This is the name of the entity in Easify that caused the notification to be sent. If for example you chose to be notified on changes to Products, and a product was modified this form variable would contain "Products".
KeyValue - This is the primary key, or Id value of the entity in Easify that caused the notification to be sent. If for example you chose to be notified on changes to Products, and a product was modified this form variable would contain the SKU of the product.
Action - This value describes what has happened to the specified entity. It can have one of the following values: "Deleted", "Modified", or "Added". For example, if you modified a product in Easify, and were setup to be notified on change to Products, your remote URL would receive a notification with an Action variable set to "Modified".
PrivateKey - This will be set to the Private Key that you specified in the channel settings. You can check this value in your web server code to ensure that it matches the private key that you set.
