Now that you have a fresh installation of Easify on your new computer it is time to restore the database that you backed up in the first half of this procedure.
First you will need to copy the backup file that you created earlier into the correct folder on your new computer. Unfortunately the path of the folder can vary depending on whether you have any other Microsoft SQL based programs on your computer, fortunately there is an easy way to find the correct folder.
To locate the correct folder to copy your backup file to, launch Easify and carry out a backup as described at the start of this article, only this time you will be using the new computer and the fresh install of Easify.
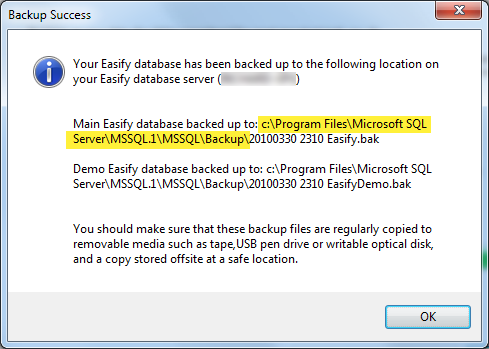
When you get the Backup Success dialogue, note the path that Easify has saved the backup to - this is the location where you should copy your backup file to.
Browse your computer to the path as highlighted in the screenshot above (or whatever your path is if different) and copy your original backup file to this location.
Note If you are moving to a computer running a 64 bit version of Windows, the destination Program Files folder path will actually be Program Files (x86).
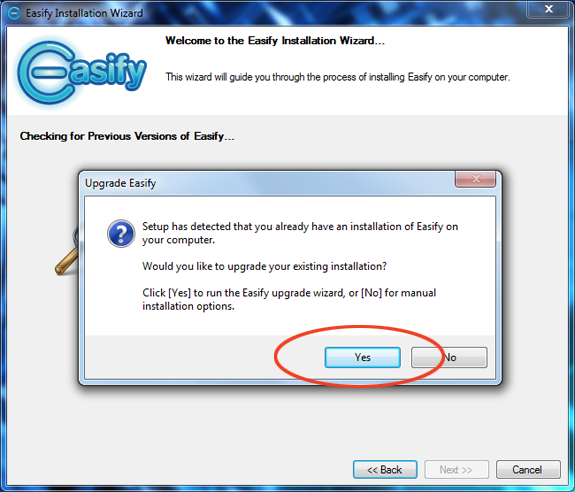
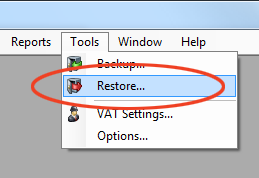
Now you need to restore the original backup file, from Easify click the Tools > Restore menu.
You will be prompted to confirm that you want to restore Easify, since you are restoring to a fresh install there isn't much to debate here so click the Yes button to continue.
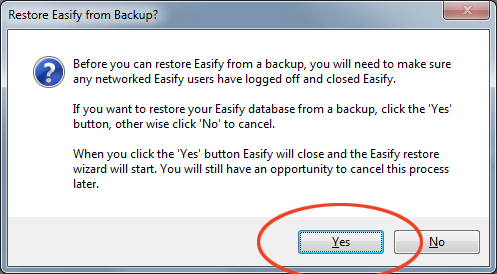
When you click the Yes button, Easify will close and the Restore Easify wizard will launch itself.
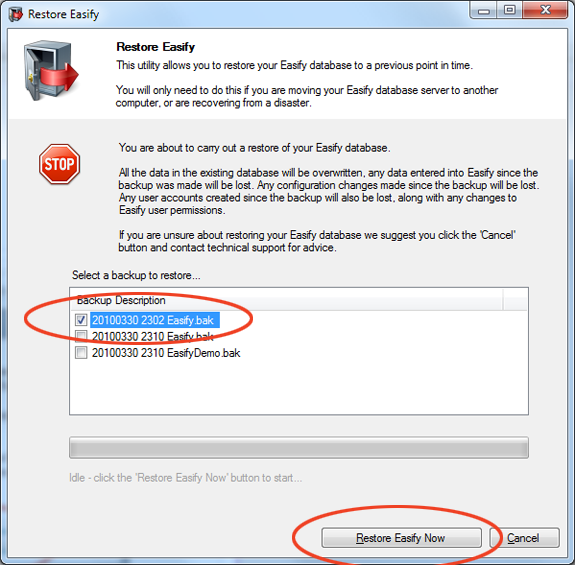
In the list of backup descriptions you will see three backup files (assuming you have followed this procedure correctly). Two will have been created just now when you did the backup of the fresh install of Easify to determine the path of the backup files. The other will be the backup file you originally created in the first half of this procedure.
Select the backup file that you copied from the old computer.
Note Easify backup file names consist of the Year, Month, Date and time in 24hr format so it is easy to tell which backup file you need.
When you have selected the correct backup file, click the Restore Easify Now button.
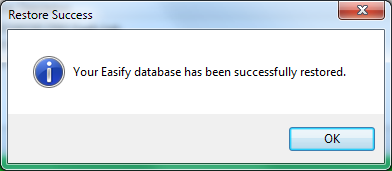
If everything goes according to plan you will see the dialogue above telling you that your database has been successfully restored.
Click OK to close the dialogue and you're done. You can now launch Easify on your new computer and it will contain all the data from your old computer.