Preparing for a VAT Return
How to set up Easify for MTD
MTD will apply to all UK businesses that are UK VAT registered.
Step 1: VAT Settings & HMRC Authorisation
First of all you will need to go into Finances -> VAT -> Settings and make sure that the "My company is registered for VAT" is ticked.

Please note: on versions previous to V4.80 you will find the VAT Settings under the Tools menu.
Below you can see the list of VAT codes. Most of the VAT codes that are showing as default are mandatory and cannot be deleted as they are needed for Easify to function correctly.
However you are free to add any new ones in this table.
You will also need to enter the rest of your details in the fields at the bottom of this window:
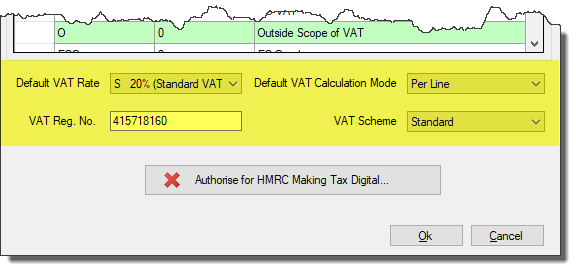
Default VAT Rate
This will be S – Standard 20% for most UK businesses who charge VAT on their products or services.
Default VAT Calculation Mode
Whether you want Easify to calculate the VAT per item or per line. Calculating per item is ideal for the retail industry whereby a £10 item needs to cost £10 whether your customer purchases 1 of them or 1000 of them. However calculating the VAT per item does cause small VAT rounding issues. If you select the ‘per line’ calculation you’ll be less likely to get small VAT rounding issues, however due to the nature of VAT, rounding issues will occasionally occur under both methods.
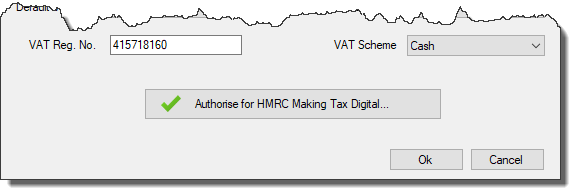
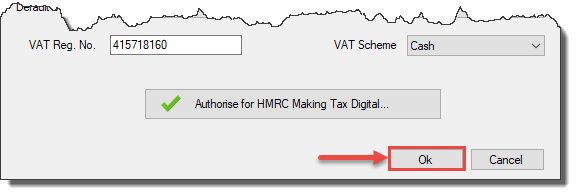
VAT Reg. No.
You will need to add in your VAT Registration Number – this can be with the GB prefix or without it, however we recommend inserting your code with no spaces or hyphens etc.
VAT Scheme
Easify supports the 2 main VAT Accounting methods:
Most UK business use the Standard VAT Accounting model, however if your VAT taxable turnover is less than £1.35 million you can use the Cash accounting scheme. This helps prevent you from having a large VAT liability when you haven’t yet been paid for a job.
"Authorise for HMRC Making Tax Digital" button
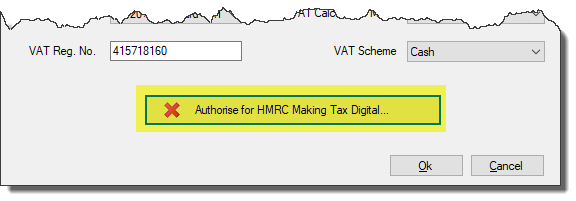
This button will have a red cross next to it until you have setup Easify with HMRC. The steps to complete the setup are as follows:
-
Click the "Authorise for HMRC Making Tax Digital" button
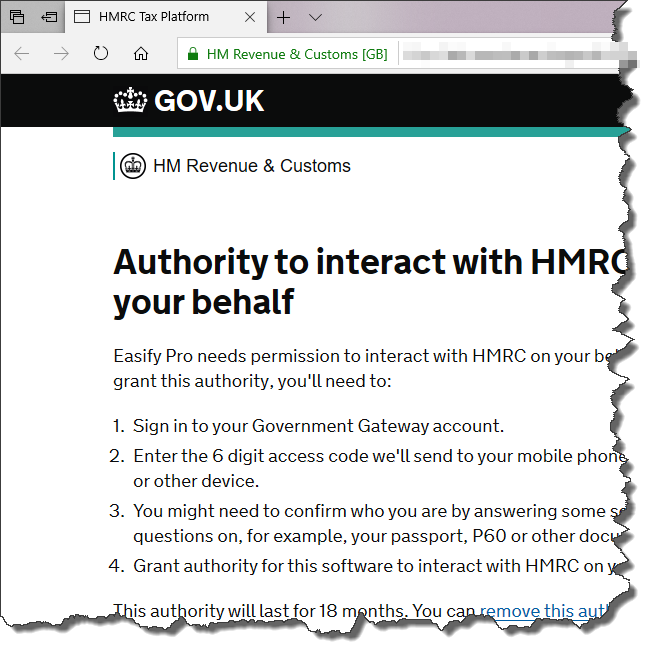
This will open up a new web browser window on your computer:
-
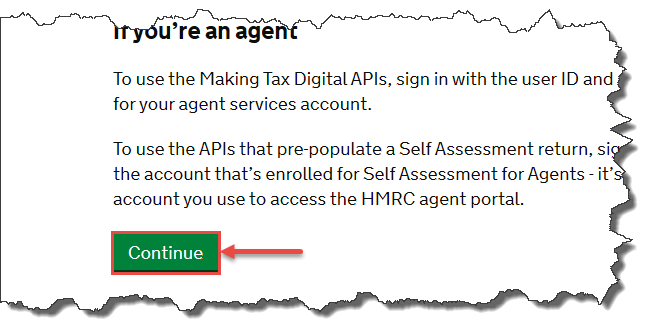
Click "Continue" at the bottom of this page
-
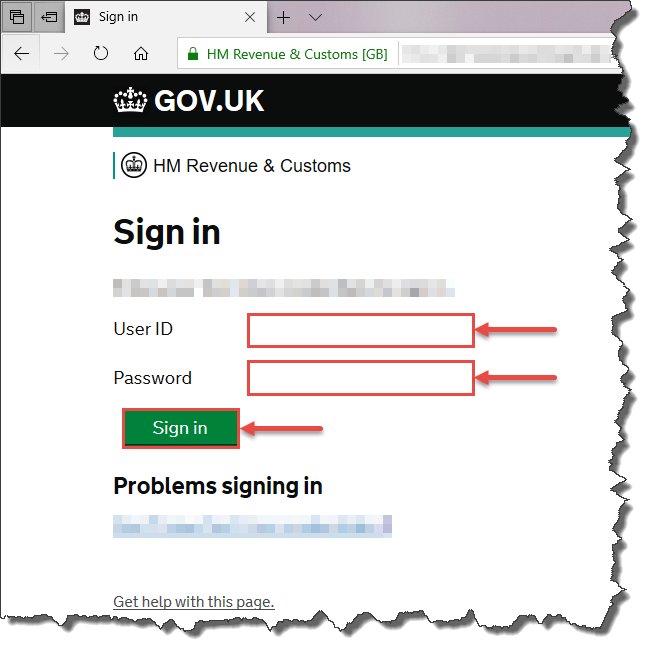
Enter your HMRC Sign-in details and then click the "Sign In" button
-
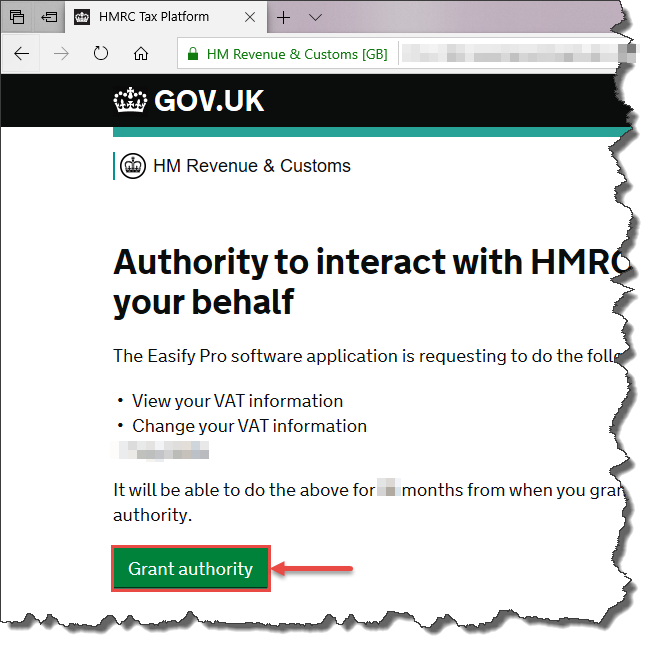
Click the "Grant Authority" button
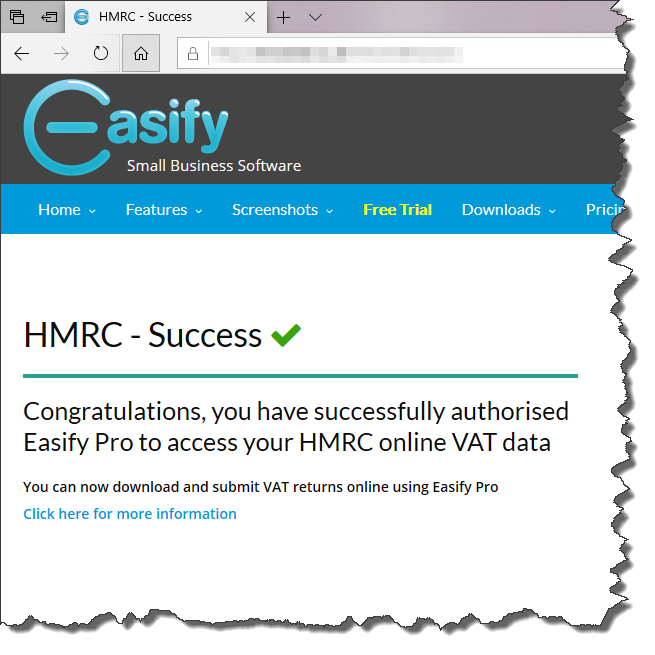
If successful, you will be redirected to a success message on the Easify website.
-
Go back to Easify Pro and once Easify has finished the authentication, the Authorise for HMRC Making Tax Digital button will show with a green tick
 NOTE: You will have to re-authorise yearly with HMRC.
If you are having trouble generating a VAT return, click on this button to re-authorise even if it already shows a green tick. This will take you through the re-authorisation process.
The authorisation process will time-out after a short period of time, so if Easify is showing as not authorised even when you have been through the HMRC process, then it is possible that it has timed out.
You can re-authorise Easify as many times as you need to in order to complete this process.
-
Click OK to save the changes
You will have to authorise Easify to speak to HMRC on your behalf by using the button as described above on the VAT Settings window.
In addition to this, you also have to register with HMRC at Sign up for Making Tax Digital for VAT.
Step 2: Purchase Types
As certain purchase types (sometimes referred to as Nominal Codes) don’t appear on a VAT return such as wages, pensions, rates, etc you will have to make sure that your purchases types are set to be Vatable or not Vatable.
Go to Tools Options Purchases Purchase Types. Here you will see that we have added a VATable column:

We’ve set some default purchase types as vatable or not vatable, however if you’ve added your own purchase types you will need to select whether they are vatable or not.
- If the tickbox is ticked, it’s vatable
- If the tickbox is not ticked it’s not vatable.
- If there’s a black square in the tickbox it means you haven’t selected anything for this purchase type yet, so you will need to set this purchase type to be vatable or not vatable.
Anything that is marked as VAT rate O – Outside the Scope of VAT will be excluded from your VAT return.
More details of what is and what is not Vatable can be found on HMRC’s website or check with your accountant if you’re unsure.
You’re now ready to start your first VAT return: Doing A VAT Return
Troubleshooting

If you receive an error message during HMRC Authorisation, please check:
- You have entered your VAT Registration Number correctly in Easify
- You have correctly setup your HMRC account
Another possible cause of the error message is that the web session has timed out on the HMRC portal which can happen if ,for instance, you have to leave your computer and then come back to it to later to complete the process.
You can restart the authorisation process from within Easify as many times as you like by clicking on this button again:
