EPOS - Selecting a Customer for a Sale
Many times POS systems are used to simply totalise products and ensure that the correct payment has been made before issuing a receipt, the identity of the customer not being of great importance.
If in your business you would like to record customer details for a sale, for example if you need to deliver the product to the customer, easify provides a simple means of doing this.
When you have been operating with Easify for some time, you will probably have built a comprehensive list of customers. You can easily select any of your pre-existing customers and assign them to a sale.
From the main EPOS window, press the F5 button on your keyboard, or click the Enter Customer Details button.

The Pick Customer window will open.
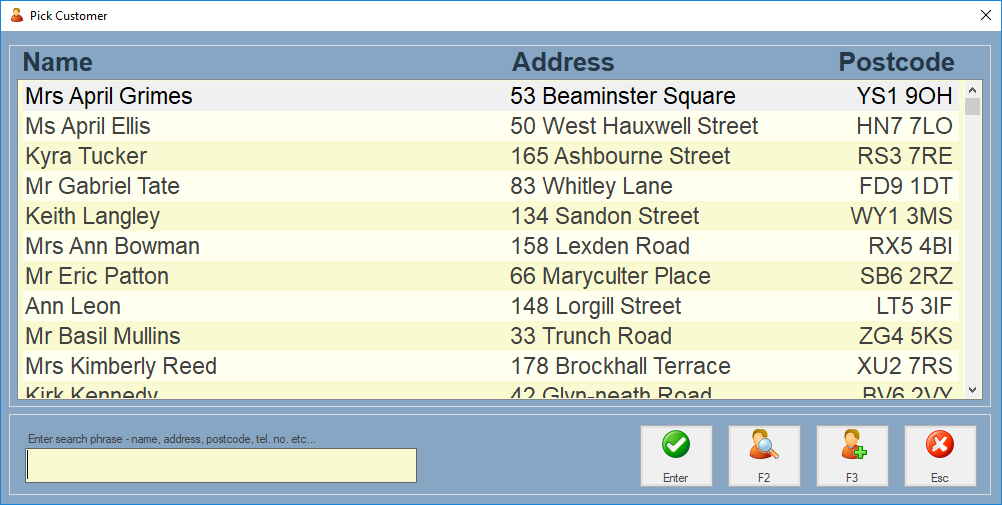
In the Pick Customer window, simply select the customer that you would like to assign to the sale.
If you have a large list of customers you can narrow down your choice by entering part of the customers name in the search phrase box. As you enter part of the customers name the list of customers will be whittled down to only those that contain the phrase you have entered.
If you would like to view the details of the selected customer, press the F2 key on the keyboard, or click the View Details for Selected Customer button.

When you have found your customer, make sure they are selected (highlighted) and click the Enter button.
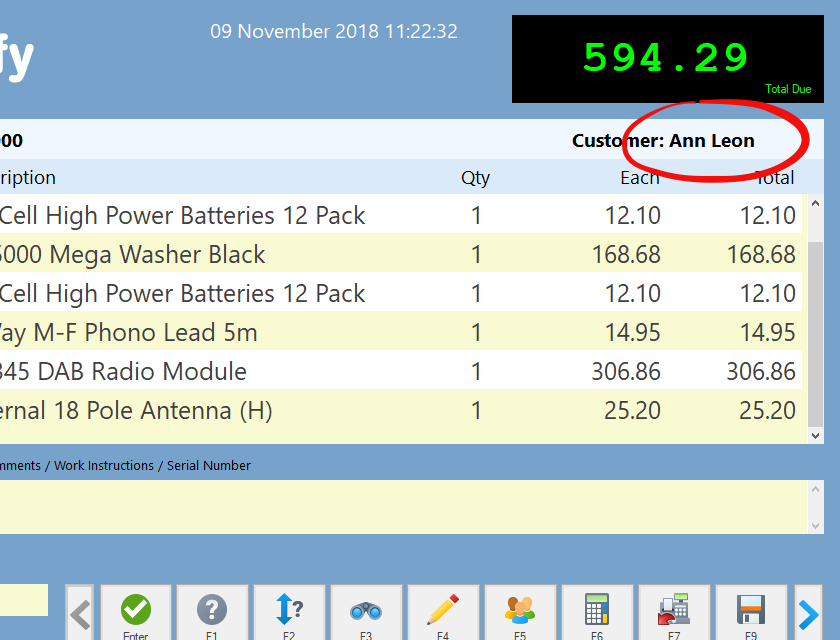
Your customer will now be assigned to this sale.
