Restoring Easify Server from a Backup (.bak) file
Introduction
However, this guide explains the steps involved for disaster recovery, for example after your PC has suffered a PC hardware failure and you need to get Easify back up and running on a new PC.
This guide assumes the following scenario:
- You have a .bak backup file
- You have a new computer that you would like to install Easify on to and then restore the data from your backup.
This guide is split into 4 sections. Parts 1 to 3 should be followed in sequence. The last section will be referred to in the guide in order to explain how to deal with any error messages which may appear along the way.
- Part 1: Install Easify and restore the backup (.bak) file
- Part 2: Activate the Server
- Part 3: Reinstall Easify licenses
- Appendix: Dealing with error messages
Part 1: Install Easify and restore the backup (.bak) file
-
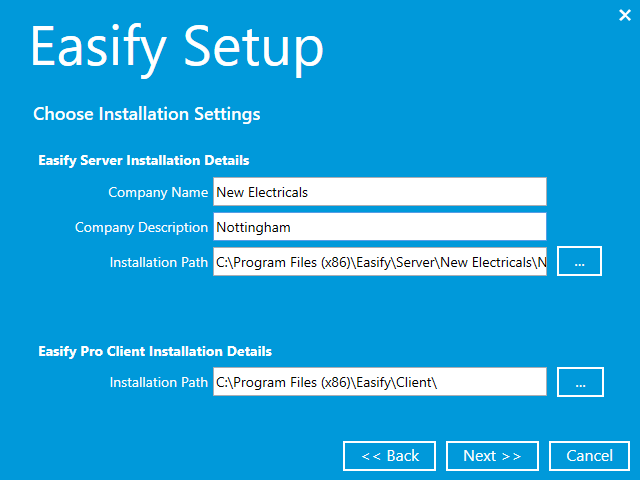
Download Easify and run First Time installation to install Easify on to the computer
- Link to the Downloads page: Download Easify
-
You can choose a new Company Name and Description, they do not have to match the ones you used originally when you first set up your company. In the example, the Company Name is "New Electricals" and the "Description" is Nottingham.
-
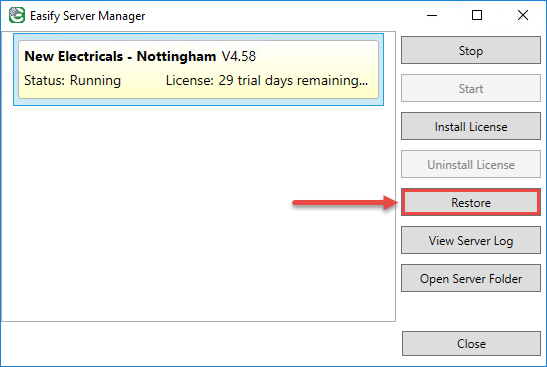
Open Easify Server Manager (green icon on the desktop)

-
Single-click on your Server and then click the Restore button
-
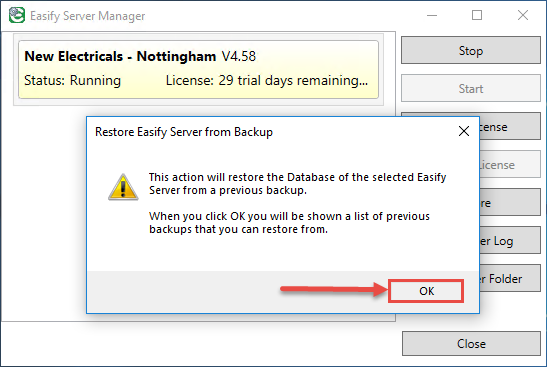
Clicking the Restore button will open up a new window on your desktop. Click OK on the prompt
-
Clicking the Restore button will open up a new window on your desktop. Click OK on the prompt
-
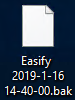
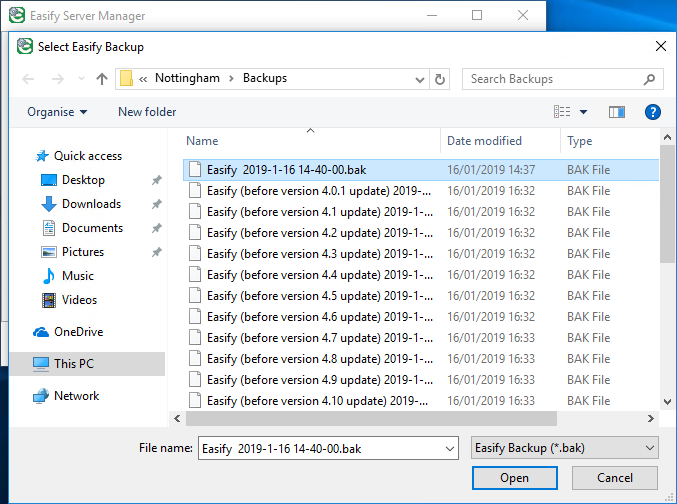
Browse to your .bak file on your computer and click Open
-
In this example, the .bak file is called Easify 2019-1-16 14-40-00.bak
-
In this example, the .bak file is called Easify 2019-1-16 14-40-00.bak
-
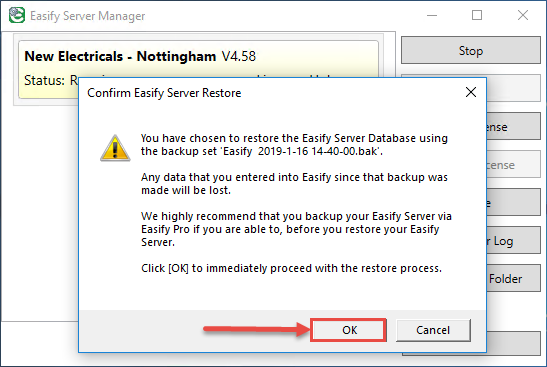
Confirm the Easify Server Restore by clicking OK on the prompt
-
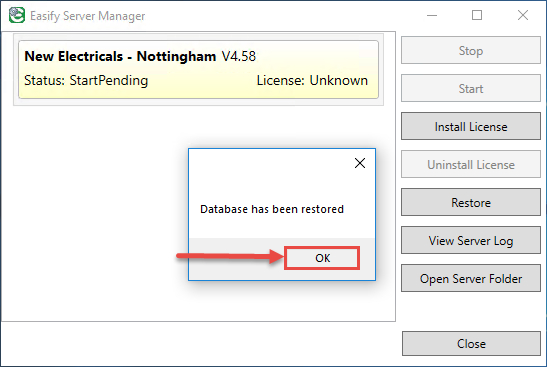
Wait for the success message to appear and click OK
-
Make sure you wait for the text underneath the server name, which says "Status: StartPending", to change to "Status: Running"
-
Make sure you wait for the text underneath the server name, which says "Status: StartPending", to change to "Status: Running"
Part 2: Activate the Server
-
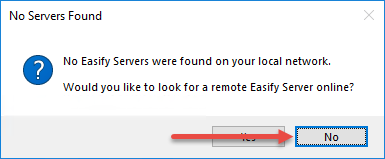
Open Easify Pro and say No on the "No Servers Found" prompt

-
Click OK on the second prompt which appears

-
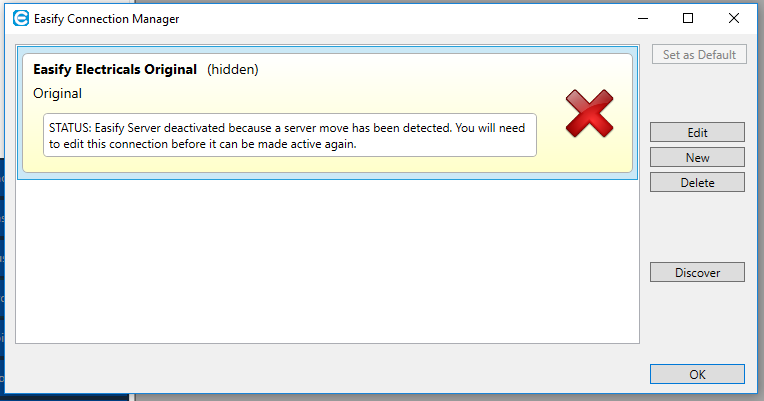
The Server will be marked "Hidden" and display a red cross.
- This is normal.
- Note that the Company Name and Company Description are no longer the ones you entered in Part I of this guide. They have been replaced by the Company Name and Description that were recorded in the .bak file. In the example below, you can see that the original Company Name record was "Easify Electricals Original" and the Description was "Original"
-
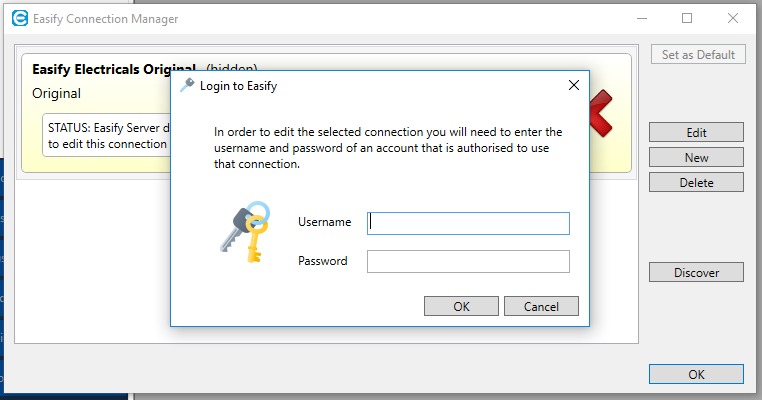
Single-click on the Server and then click the Edit button

-
Login as a User with administrator permissions
- This will be the Easify Username and Password of someone who had access to Easify on your old computer
-
If you normally logged in as "Administrator" on your old computer then you can use that account for this step. If you didn't set a password for the Administrator account on your old computer then the password will be blank.
-
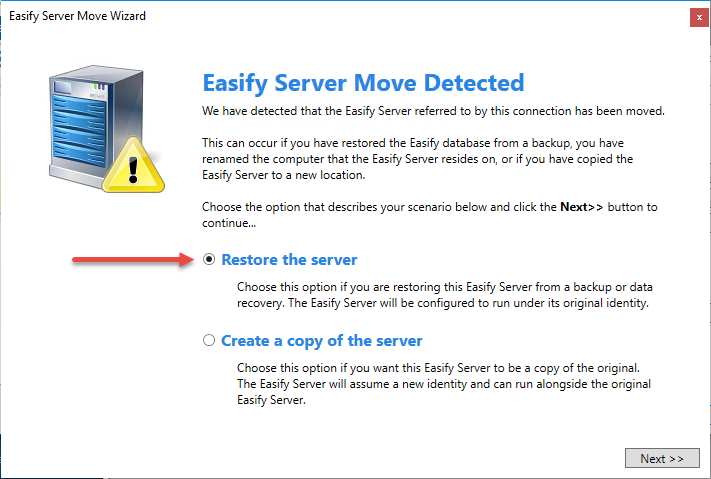
In the Easify Server Move Wizard choose "Restore Server", then click Next
-
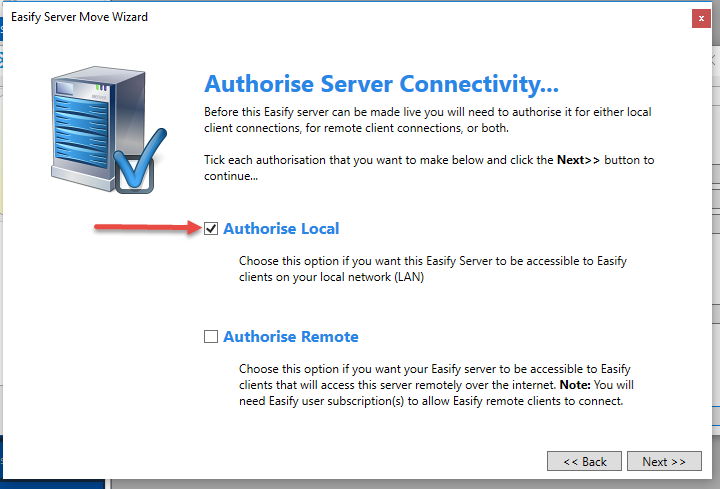
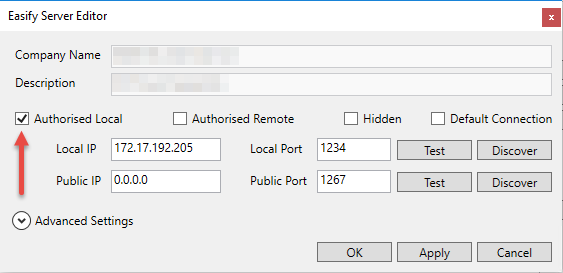
Select Authorise Local, then click Next
-
Click Finished to close the Easify Server Move Wizard

-
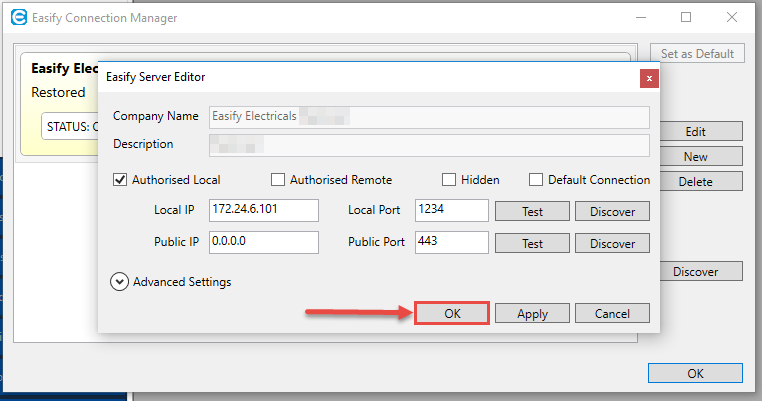
Click OK to close the Easify Server Editor
-
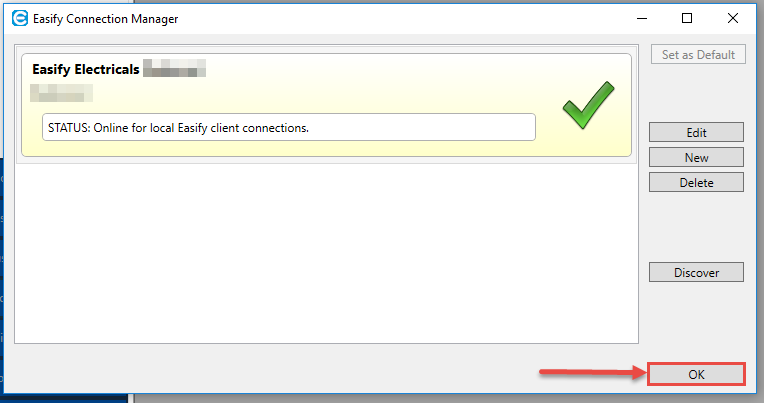
Confirm there is now a green tick next to the Server, then click OK
-
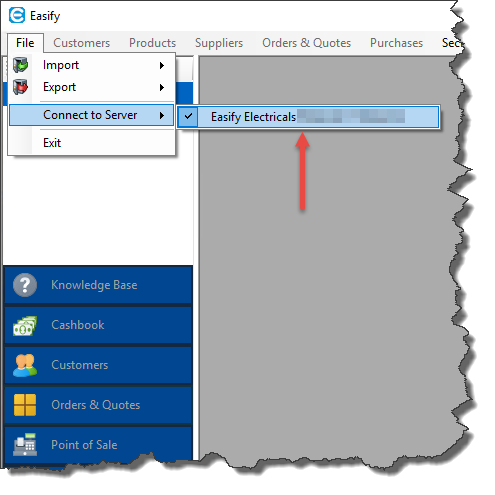
Go to File Connect to Server and select your Server
-
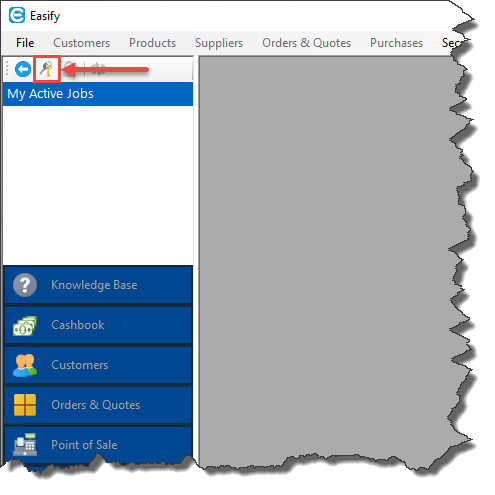
Click the login icon and login to Easify
- All the Easify Users you setup on your old computer should now be able to login to Easify on the new computer.
Part 3: Reinstall Easify licenses
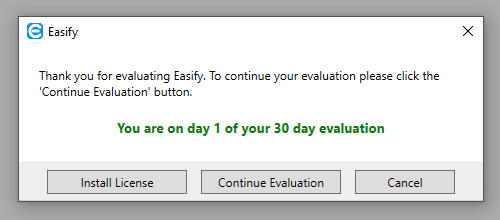
Now that you have completed the restore process, the last thing you will need to do is re-enter the license keys for Easify Server and Easify Pro. These are not automatically carried over as part of the restore process above so without re-installing the license keys, Easify will be running on a 30-day trial license. Once the trial expires you will be prompted to install a license.
If you receive any errors while trying to install a license, it is most likely because the license key is still associated with the old computer. In this case, please send an email to support@easify.co.uk and once we have confirmed your identity, we will be able to reset your license keys for you so that they can be re-used.
Appendix: Dealing with error messages
Error 1 "Easify Server License is invalid or has expired"
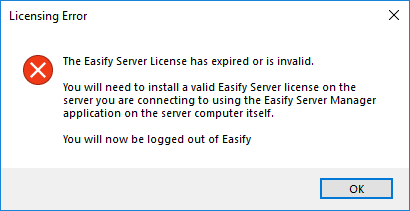
If you received the above error message after Step 7 in Part 2, then do the following:
- Click OK on the error message
- Close Easify Pro
-
Open Easify Server Manager (green icon on the desktop) and restart the Server
- Once Easify Server Manager is open, single-click your server to select it
- Click the Stop button until the text underneath the server displays "Status: Stopped""
- Click the Start button and wait until the text underneath the server displays "Status: Unknown" or "Status:Running"
- Close Easify Server Manager
-
Repeat Part 2, Steps 1 - 5. Once you have completed Step 5, * PLEASE RETURN HERE and continue as follows: *
-
Uncheck the "Hidden" box

-
Tick the "Authorised Local" box
- Carry on from Part 2, Step 9 onwards
-
Uncheck the "Hidden" box
Error 2 "Unhandled exception"
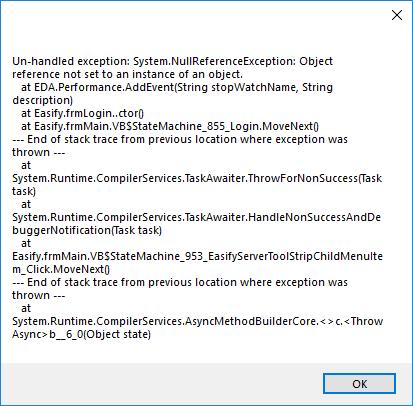
If you received the above error message when trying to login to Easify, just click OK on the message and Easify Pro will close. Re-open Easify and try logging in again.
